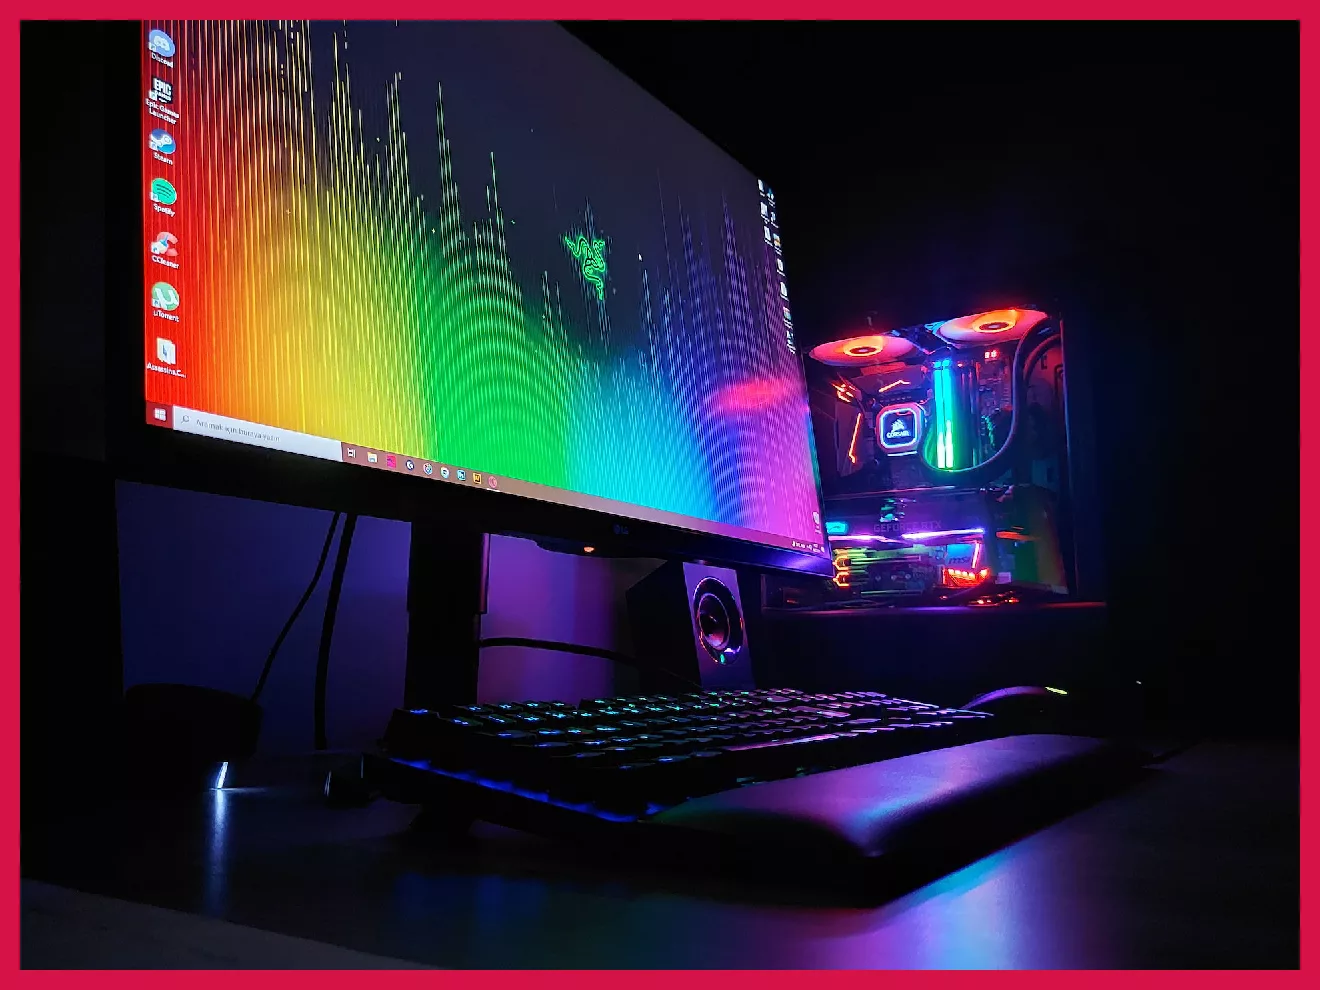
If you’re looking for a hobby that’s both fun and rewarding, building your own gaming PC is a great option! Not only will you have a great time putting it together, but you’ll also end up with a high-performance machine that’s perfect for gaming.
Are you looking for a gaming PC that can handle the most demanding games? If so, then you need to know how to build a gaming PC.
The process of building a gaming PC can be daunting, but it doesn’t have to be. In this guide, we will walk you through the process step-by-step so that you can get started ASAP.
We will cover everything from choosing the right components to putting everything together and installing your operating system. By the end of this guide, you will have everything you need to know about how to build a gaming PC. So, let’s get started!
List of parts you need to build a gaming PC
Building your own gaming PC requires several components that all need to be compatible with each other. This can be daunting, but if you plan it out right and get the right components, you’ll end up with a powerful gaming PC. The most important components you’ll need to build a gaming PC are:
- The central processing unit (CPU) — the processor should not be top-end, but also not very weak, otherwise, it can bottleneck the GPU’s work
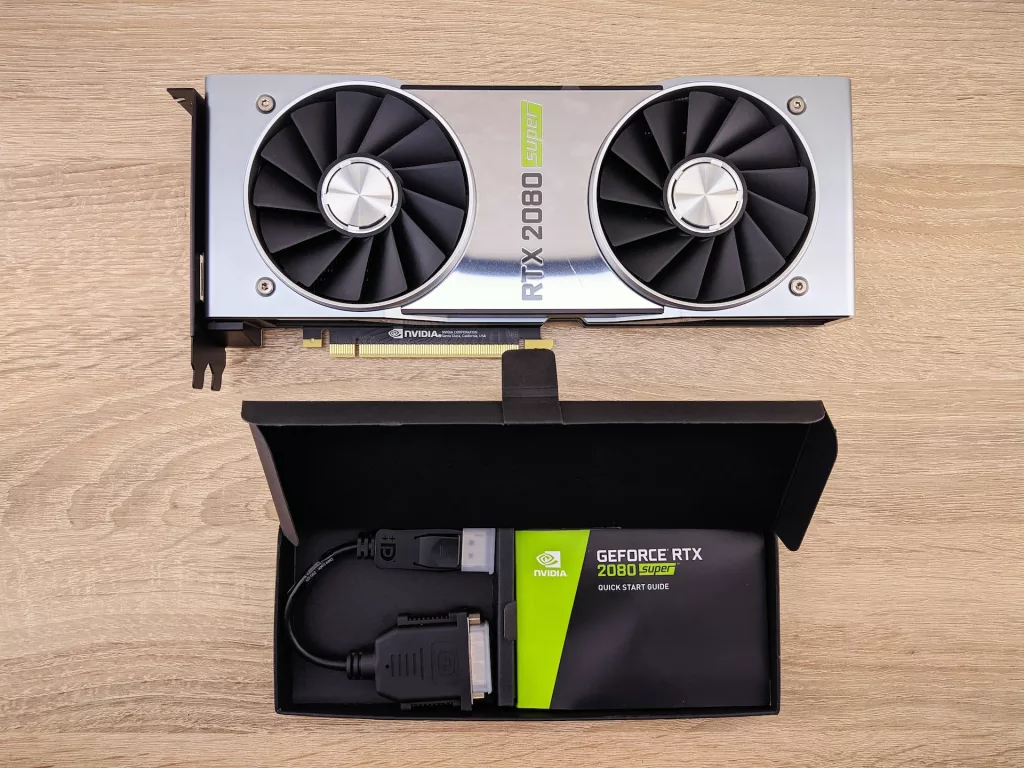
- Graphics processing unit (GPU) — a good video card is the main part of a gaming PC
- RAM — a minimum of 16 GB RAM via 2x8GB sticks is recommended
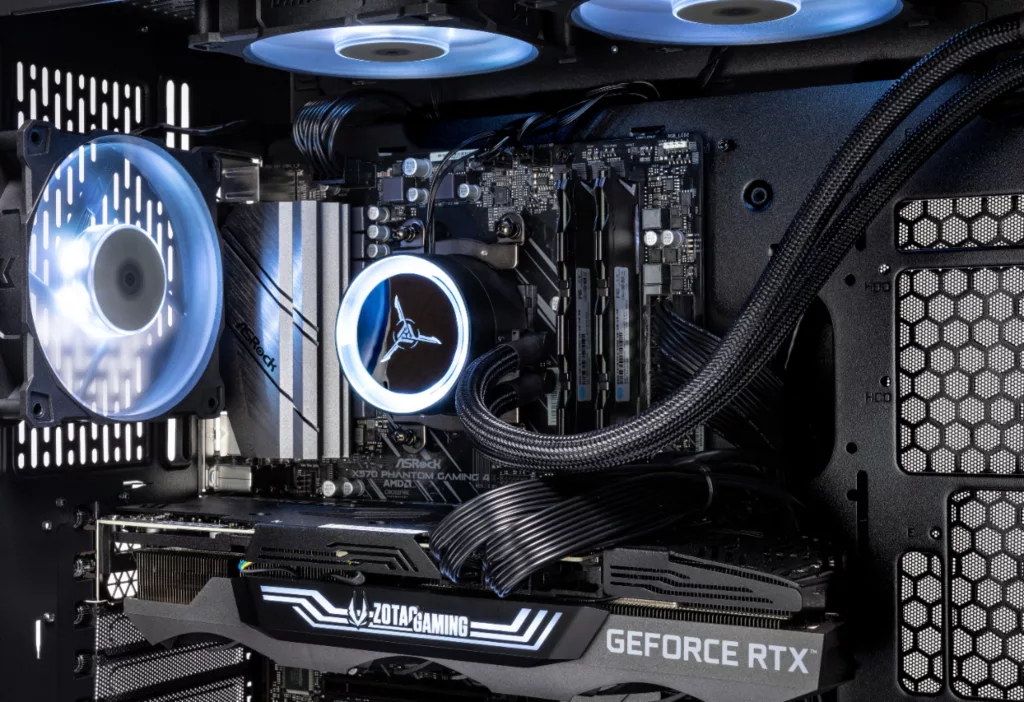
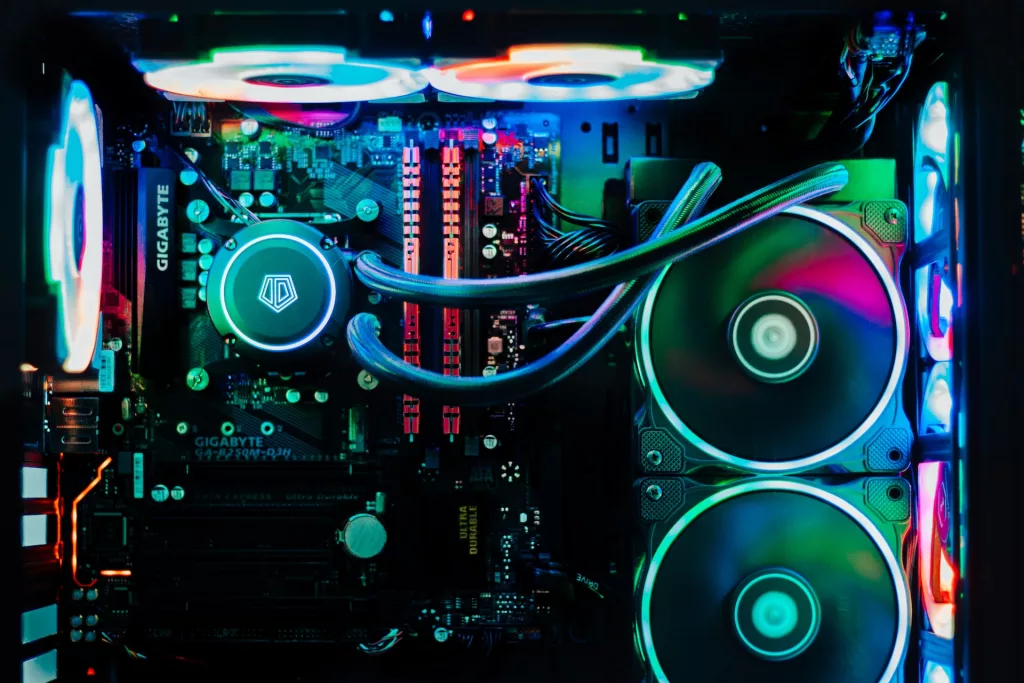
- Cooling system — in most cases, it’s just a few fans, some for inflow and 1-2 for exhaust
- Power supply — should be calculated as per the power usage of the whole PC
- Storage — preferably SSD
- Case — the form factor that can fit your motherboard
The CPU is the brain of the computer and is responsible for performing calculations. It’s important to get a high-end CPU if you want your computer to be able to handle the most demanding games. The GPU is responsible for rendering graphics. If you want to play games in 4K or with the most detailed graphics settings, then you’ll need to get a high-end GPU.
The cooling system is important to keep the temperature of the components in check. Without the right cooling, your computer will overheat and could cause thermal throttling, which can lead to FPS drops while gaming or crashes.
The power supply is responsible for providing power to the other components. You’ll need to make sure you get a power supply that is capable of providing enough power for all of your components.
The storage is responsible for storing your games, applications, and data. You’ll need to decide whether you want to use a hard drive or a solid-state drive for storage. SSDs are faster than HDDs and not that expensive now. A 1TB NVMe M.2 SSD is enough. If you are on a budget, you can buy a 512 GB one and upgrade later as you run out of space.
The same applies to RAM. Upgradability is one of the best things about building a gaming PC and you’re encouraged to use it.
Finally, you’ll need a case to house all of your components. The size of the case will depend on the components you’re using, but you’ll want to get one that is big enough to allow for proper airflow. These are the essential components you’ll need to build a gaming PC.
Steps to assembling your gaming PC
Once you’ve gathered all of the components you need to build a gaming PC, it’s time to start putting it together. Follow the steps below to get your PC up and running!
- First, you’ll want to lay out all of your components on a flat surface and make sure everything is compatible. Read through the user manuals and check that you have all of the necessary cables and connectors for each component.
- Next, you’ll need to start assembling the case. Make sure you’re following the steps outlined in the user manual to do this properly. Once the case is assembled, you can start putting in the components.
- Start by putting in the CPU, graphics card, and memory. Make sure you secure each component properly and double-check that you have the correct connectors.
- After the components are installed, you’ll need to attach the power supply and connect all of the cables. Make sure you use the correct cables for each component and double-check that everything is connected properly.
- Finally, you’ll need to install the operating system. Unplug any unnecessary USB devices and then insert the installation disc or USB drive. Follow the instructions to install the operating system and then restart your computer. Once it’s done, you can begin enjoying your new gaming PC!
Tips on how to get the most out of your gaming PC
Building your own gaming PC can be a great way to get the most out of your gaming experience. Here are some tips that you can follow to get the most out of your gaming PC. Go for high-end components when possible. You may be tempted to get cheaper parts, but if you want your gaming PC to perform at its best, opt for the best components you can get.
- Make sure you have plenty of RAM — RAM is important for running games, so make sure you get enough RAM to meet the minimum requirements for the games you are playing.
- Research your components — You should always do your research before buying components for your gaming PC. This will ensure that you get the best components for your money and will also help you avoid compatibility issues.
- Overclock your components if possible — Overclocking allows you to get more performance out of your CPU and GPU, which can give you an edge when gaming. However, it’s recommended that you only do this if you are experienced with tweaking components.
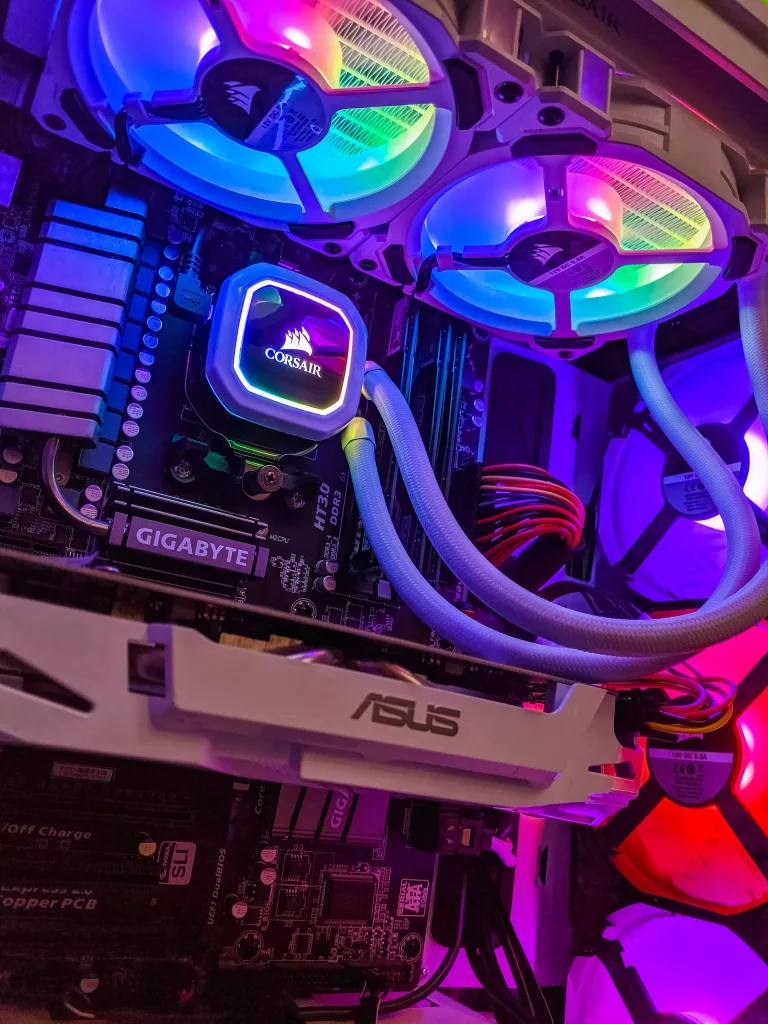
- Keep your PC cool — High temperatures can cause damage to your components, so make sure your PC has proper airflow and cooling. You can also use a liquid cooling system to keep your components cool.
How to optimize your new PC for gaming performance?
Once you’ve put together your gaming PC, you’ll want to make sure you optimize it for the best gaming performance. Here are some tips to keep in mind to get the most out of your gaming PC.
- Update your drivers — You should update your drivers as soon as possible after putting together your gaming PC. This will ensure that you have the best performance with your components.
- Check your system for potential problems — Make sure you periodically check for any potential issues that may be affecting your performance, such as overheating or incorrect settings.
- Disable unnecessary services and programs — You don’t want any programs or services running in the background that are using up your PC’s resources. Be sure to disable any services or programs that you don’t need.
- Scan your system for Malware — Malware can drastically reduce your PC’s performance, so be sure to scan your system periodically to make sure it’s free of any malicious software.
- Change your power settings — You can adjust your power settings to get optimal gaming performance without sacrificing power efficiency.
- Install software to track your performance — Installing performance-tracking software will enable you to monitor your system’s performance at all times. This will help you to identify any potential areas of improvement.