BIOS settings will not greatly affect or enhance your gameplay. Let that be known. They are important for the computer as a whole, and might or might not provide any significant, observable benefit in terms of gaming. That being said, it’s important to understand them. BIOS settings are misconfigured, especially on laptops, to make the system more power-efficient in many cases.
Note that the audience of this article is the newbie. If you’re already an expert when it comes to tweaking the BIOS settings and overclocking hardware, then this article isn’t for you as I’ll be skipping on the more technical options within BIOS settings. Apart from that, expect a fair deal of side-talk to better explain things because unless you know the bigger picture, the whole thing, it can be disastrous to change BIOS settings. It’s not a picnic on a sunny day – oh I’ll stick to the recipe, what can possibly go wrong? This is like an advanced picnic. You need to know everything from the hourly breakdown of the weather and wind speeds to geological conditions to succeed.
Overclocking warnings
BIOS settings are used to overclock a PC to get higher performance out of the same hardware. Some hardware (like Intel’s K or X CPUs) offer overclocking right from the beginning and might not require tweaking the BIOS settings to work. However, it’s recommended to overclock hardware from BIOS settings and do it slowly and steadily. Don’t overclock too much. Always do it little by little with intermittent testing for any crashes or problems.
As a piece of hardware is overclocked, it will heat up much more. Make sure you have sufficient cooling. Overclocked hardware runs out of juice sooner.
When overclocked, gaming hardware will not melt. At least not nowadays. All recent hardware come with overclocking failsafe measures that are sure to kick in. The most that can happen is a system crash, freeze, or a black screen. Note that GPU artifacting is not a side-effect of unmanageable OC settings.
Note that GPUs or video cards are not overclocked from the BIOS settings. There are third-party as well as manufacturer-specific desktop apps that you can use (such as MSI Afterburner) to overclock GPUs. BIOS overclocking only applies to RAM and CPU.
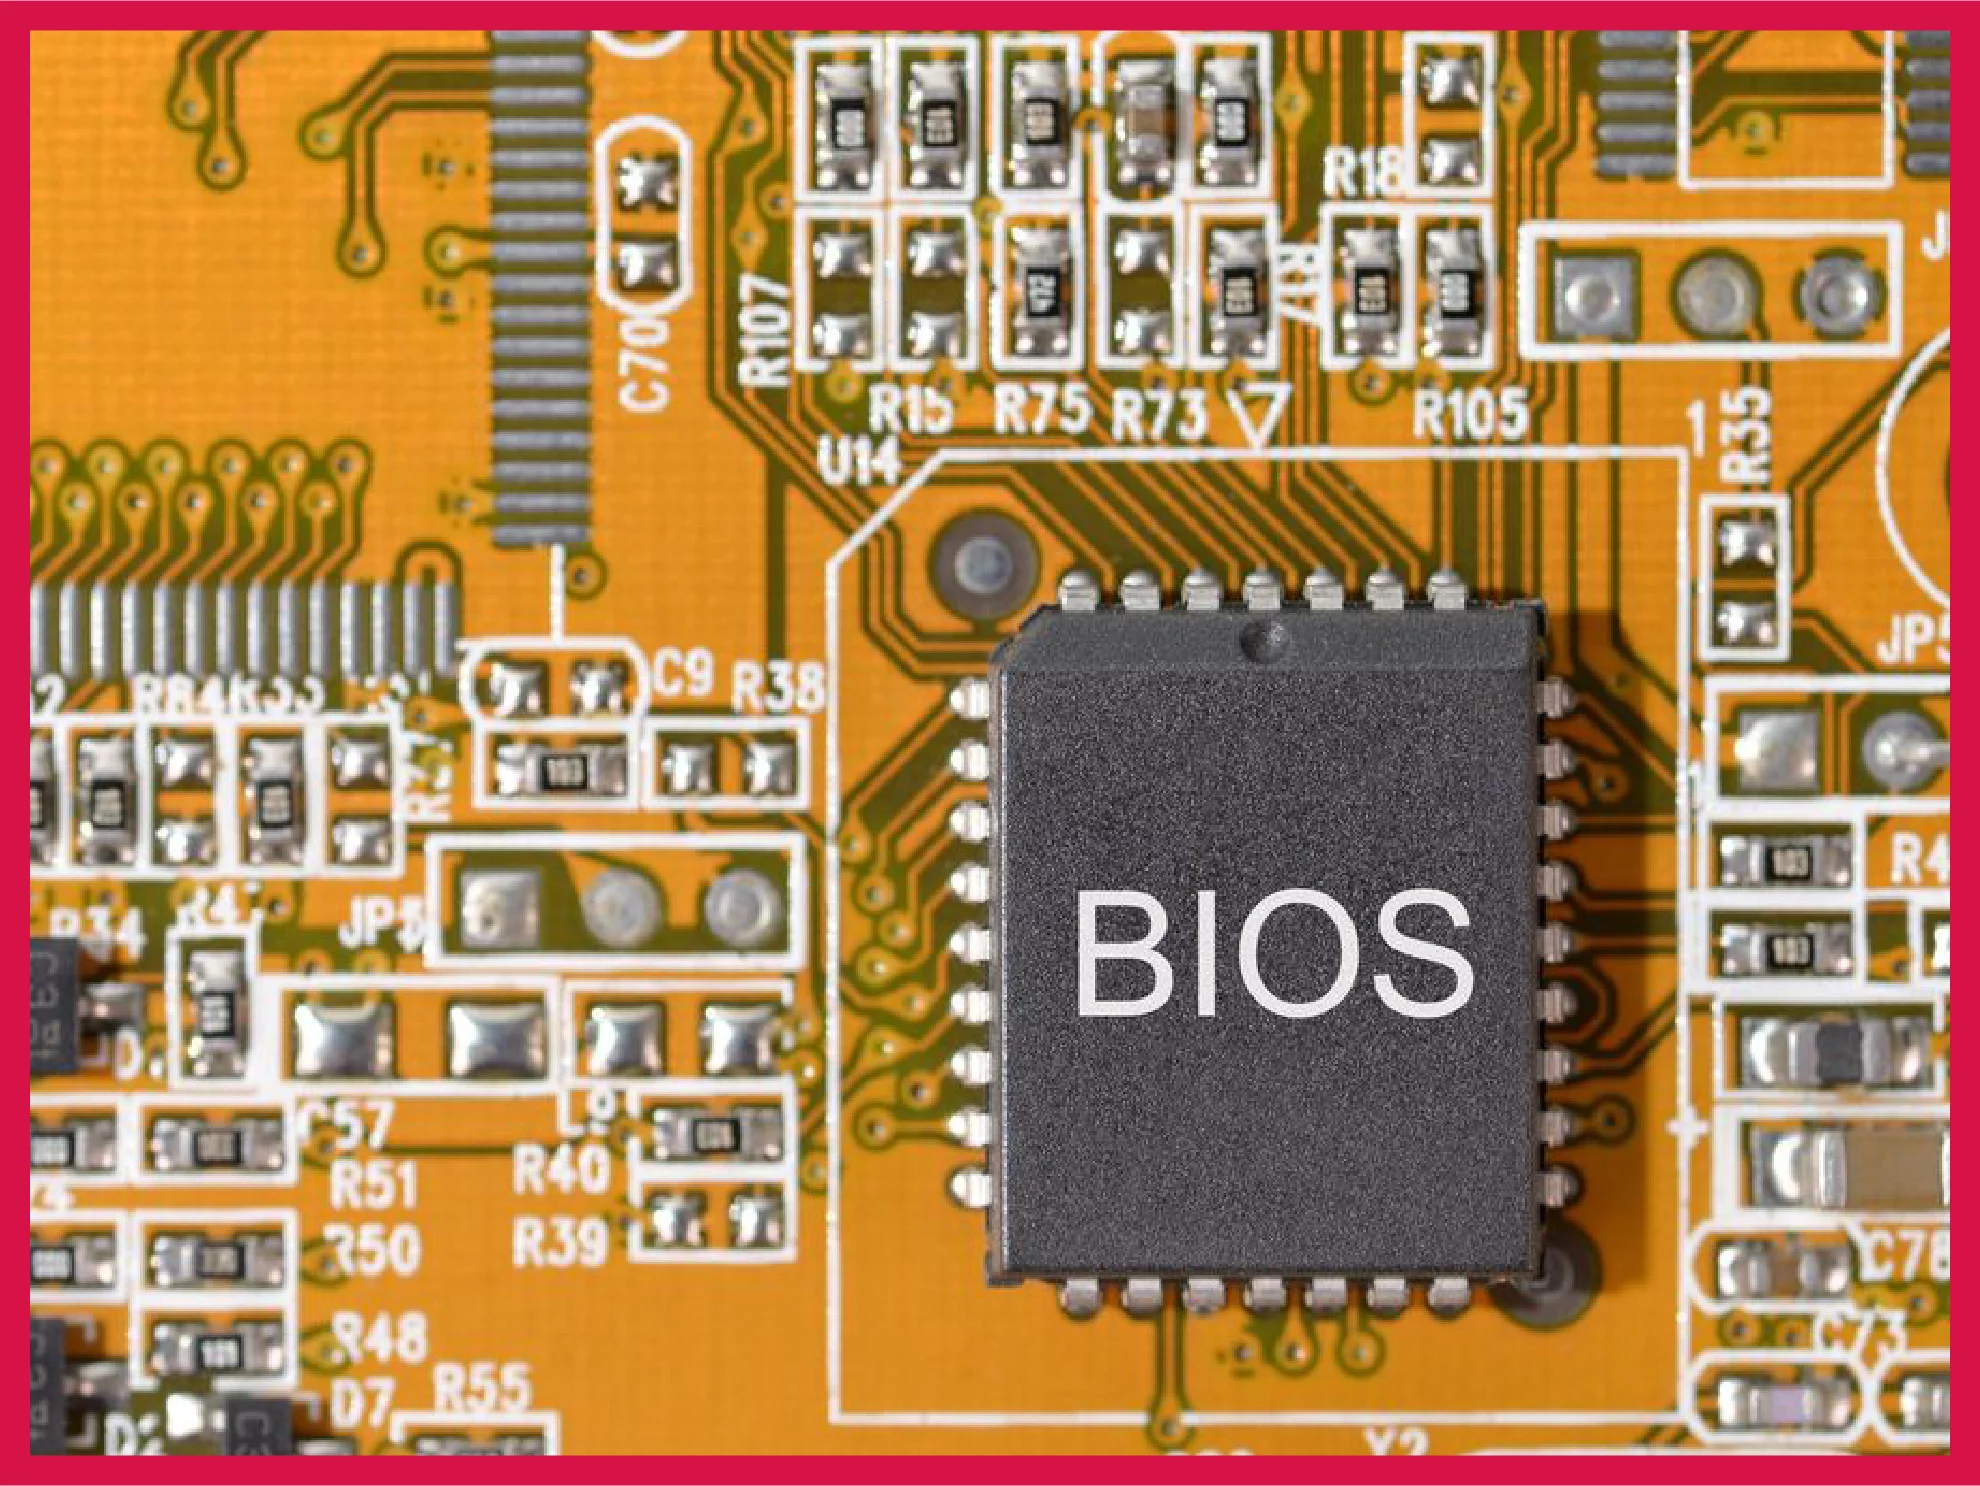
Before we begin: What is BIOS?
BIOS is considered the most important part of the system, often known as system BIOS and stands for “Basic Input Output System”. It is used for performing the hardware initialization during the booting of the system.
It is also critical to making runtime services available for the operating system. BIOS is the first piece of code that’s executed whenever the computer is turned on.
Most PCs or laptops that have BIOS can initialize and test various system H/W components by loading a boot loader and initializing the operating system. It loads from mass storage. Most of the BIOS settings deal with the motherboard system by making interfaces of the chipsets.
How do you enter the BIOS settings?
Depending on your motherboard’s manufacturer’s, you’ll need to press a hotkey right after booting. Press the power button and wait for the motherboard logo to appear. Start pressing the hotkey repeatedly and you’ll enter BIOS. Note that if the operating system (like Windows) loads up (that is, the Windows logo appears), you can’t enter BIOS anymore. In this restart and press the hotkey sooner.
The hotkey is usually F2, F1, F12, F10, or Delete (or more than one). Run a Google search like “Asus motherboard BIOS hotkey”. If you know the exact model of your motherboard that’s even better. Typically, F12 or F2 will take you to BIOS, so press them repeatedly just to check.
Pressing and holding is required in many cases.
How to configure the BIOS settings for a better gaming experience?
Well, a good gamer loves to play all the games hassle-free and smoothly. Usually, games are designed so that they can run on any system with default BIOS settings, but most of the time, it becomes important to configure the BIOS settings from default to customized.
There are many settings within BIOS settings that are relevant for gaming.
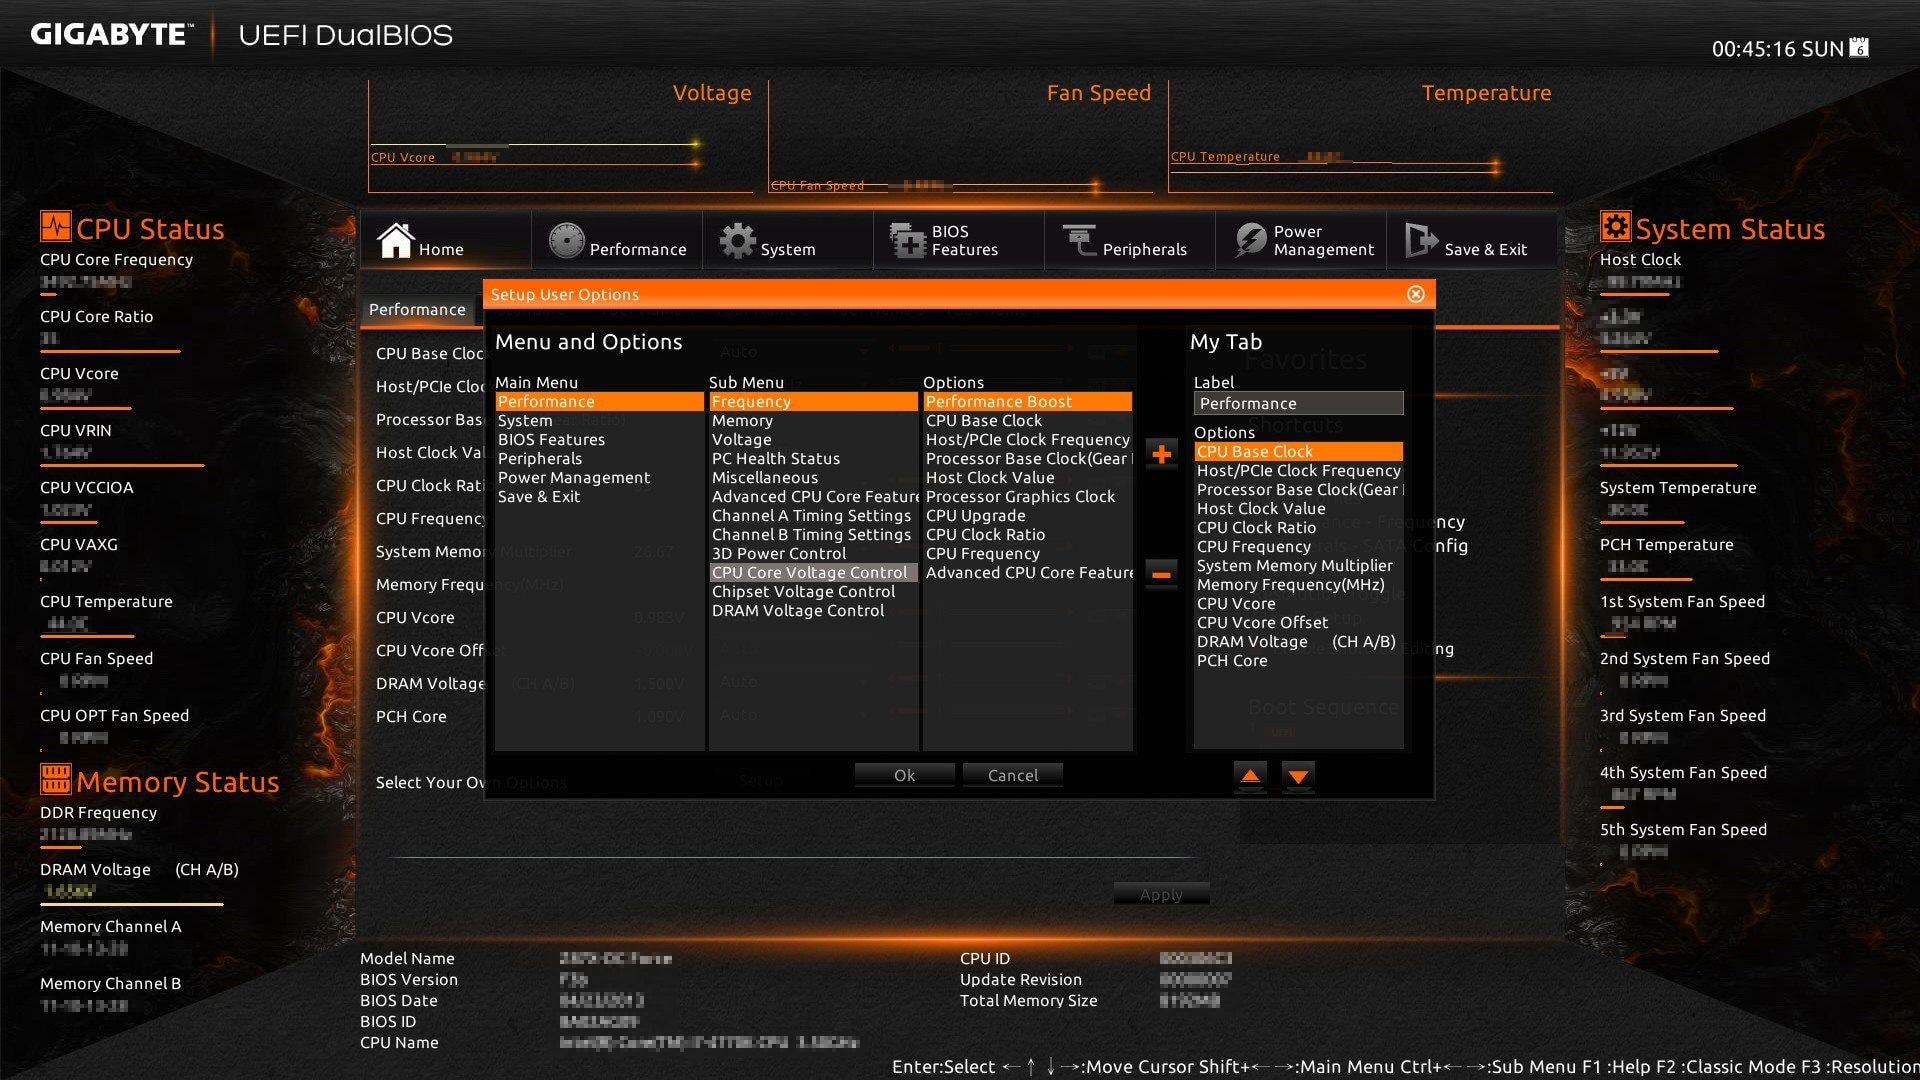
CPU settings
- Base clock: The base clock option in BIOS settings tells you the factory default clock speed of the processor. In many cases, it can be increased. If so, then you have stumbled upon a universally-overclockable CPU. Whether it’s marketed as an overclockable processor or not, you can overclock it right from here. Overclocking the CPU will yield higher performance.
- CPU ratio: Intel’s K and X processors (like i7-5960X) and AMD’s FX and K suffix processors and APUs (like FX-8150 or A10-7850K) allow changing the frequency multiplier. Increasing this multiplier is perhaps the easiest way to overclock these CPUs.
- Increasing CPU voltage: As you overclock the processor, it will need to draw more power from the PSU. This is done by increasing the CPU voltage setting in BIOS. However, even a small amount can potentially fry the CPU. Only increase it 4-5% in one go, test exhaustively, repeat.
There are several other options such as x86 virtualization, C-State options, PCIe clock, Intel SpeedStep or AMD Cool’N’Quiet, spread spectrum, and so on that can improve your overclocking situation in certain very specific conditions. However, it’s generally a good idea to skip them if you’re new to all this.
Memory
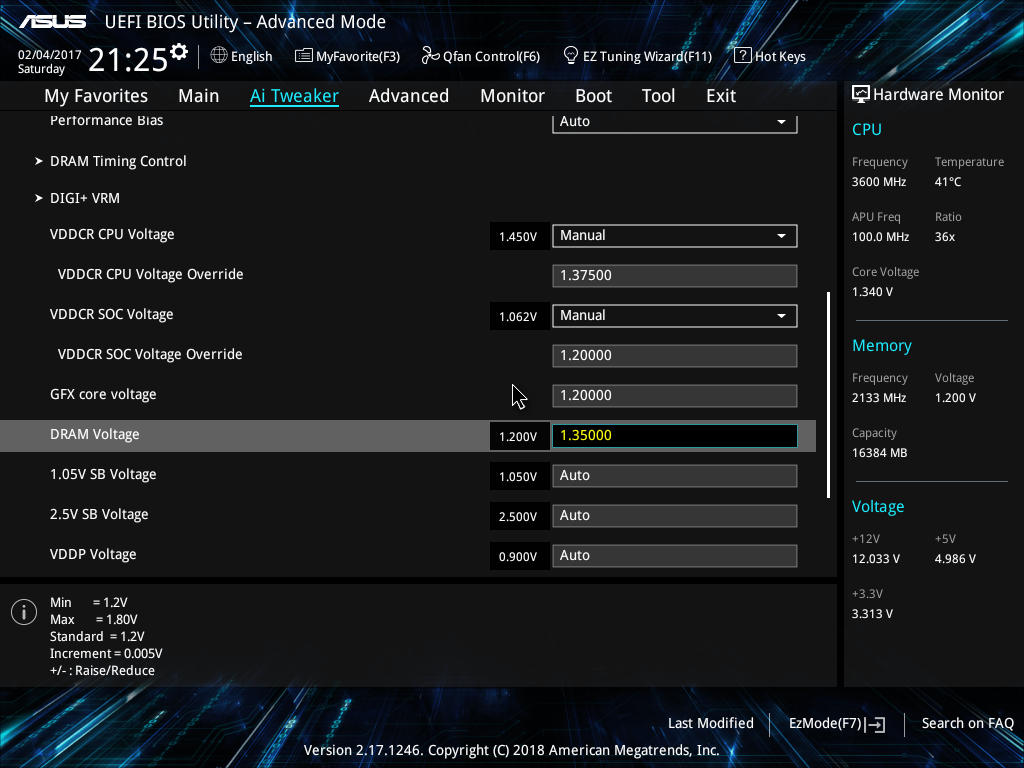
- Memory frequency: This is the main RAM setting. It depends on the BCLK (base clock of CPU) and is actually a value equaling the BCLK times the memory frequency multiplier. Pick the fastest one if you’re met with weird speeds.
- Different motherboards allow you to edit different memory/RAM speeds such as CAS latency, RAS to CAS delay, row precharge time, RAS active time, and so on. These options are improved depending on the rest of your overclocking. They generally push the overclock further higher up.
- Increasing DRAM voltage: Just like increasing the CPU voltage, increasing the DRAM voltage is also dangerous and you should increase it in very small amounts, around 4-5%.
Other options
- Fan speed settings: This setting allows you to change the speed of all the fans. Usually, it’s best to keep them on auto depending on noise profiles. Setting a flat value isn’t always recommended because higher speeds lead up to more noise. And you’ll be getting this noise even when you’re not gaming.
- AMD Dual Graphics: If, for some strange reason, you’ve created a machine that used an AMD APU and an AMD GPU, you can use this setting to combine the two. This essentially adds the video card to the IGPU of the APU. The resultant hybrid CrossFire option will allow both components to work in coordination.
- Graphics adapter and integrated GPU settings: Though there’s a fair deal of settings within this section, what you’re interested in here is choosing what PCI Express mode should be used, how much memory should be given to the integrated graphics card (if you have one), and to choose which primary graphics adapter to use.
What are the best BIOS settings for gaming?
BIOS is very similar to the system’s backbone, and nothing works without it. This is why it somewhat becomes an essential point that you switch your BIOS to the best version. This will ensure that your computer runs smoothly for all the fundamental operations you perform along with gaming. There are sequential steps to access BIOS settings. In case there is a loading problem or any issue related to booting, then most probably it is because of the BIOS.
Once you enter the BIOS settings, you can now have access to it, but having a piece of knowledge about all the functions in it is important, or your certain actions may cause severe and permanent loss to a system.
Common BIOS problems
- Failed to overclock: This occurs when the default BIOS settings are cleared up. This leads to failure in the CMOS battery, power-related issues, adding of the new device is defective. This occurs as you tell your system that your CPU or GPU should be sent extra power (more than they were designed to handle at normal). This sometimes results in great damage to various components as well.
- Device failure: It is another common BIOS issue when a new USB or flash drive is connected to the system. These are the bad drivers due to which error screens appear. For this, you need to disconnect that device and reboot your system if the error is seen again and again.
- Fan Error in CPU: This occurs rarely. It happens when the fans’ normal speed is slowed down. This occurs when you reset your BIOS settings. For this, you should turn your fan sensors off.
- Device booting error: Booting issues are still a very common problem. As you all know that BIOS handles the booting of the systems and other components. Sometimes when you set the DVD drive as UEFI, then it can lead to booting problems. For this, you should scroll down the boot page. The quick boot option is also effective in this case.
Wrapping up
That concludes our piece on BIOS settings. First and foremost, you’re supposed to launch BIOS and check each and every setting under each and every section. Read up. Often, you’ll find descriptions of what a particular setting does. Having this hunger for information is important.
Once you’re comfortable around your BIOS settings, it’s time to graduate. Tweak overclocking-related or graphics-related settings but be very gentle. Don’t change anything drastically. Editing BIOS settings directly impacts the hardware. I hope you’ve read the “Overclocking warnings” section. If you put any piece of advice to use from this article, make sure you read all around it.
Don’t break stuff.