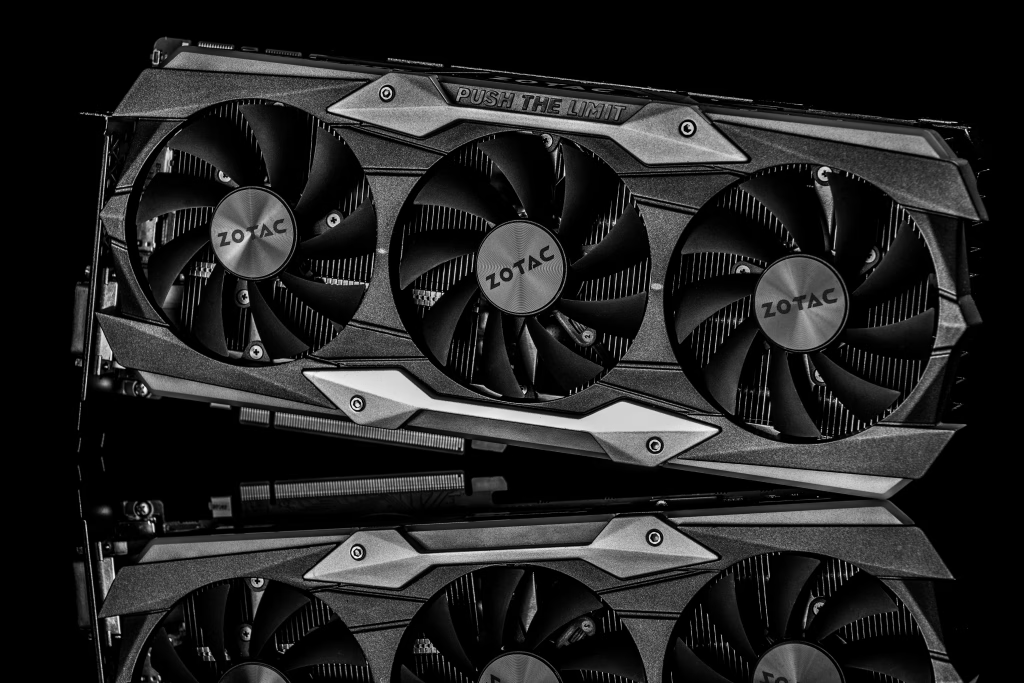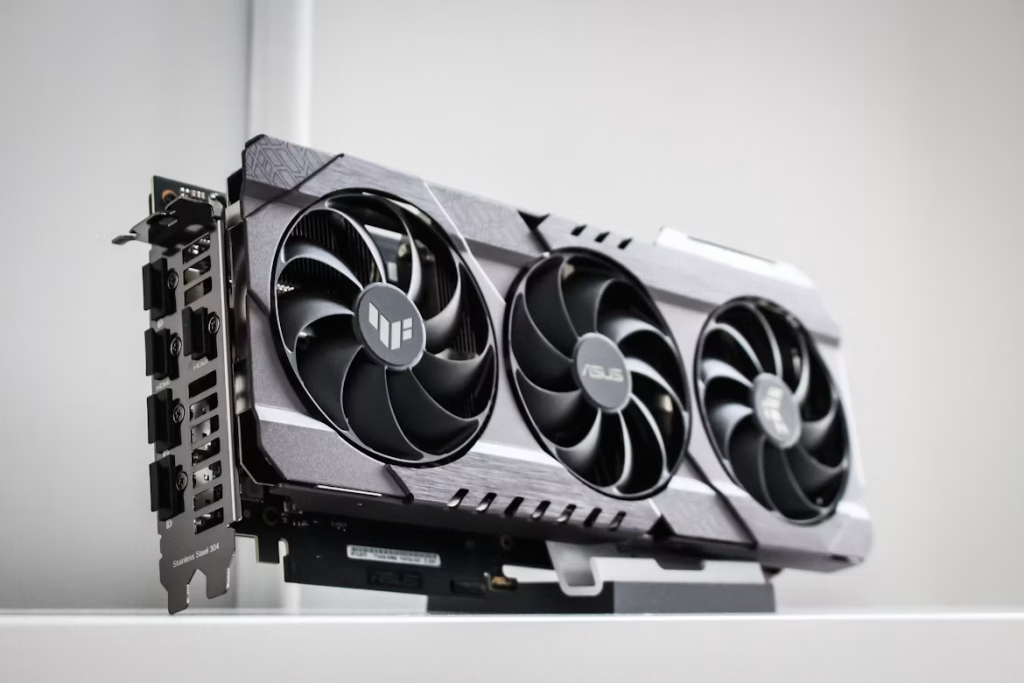
If you have ever tried to install a game and got hit with a system requirements list that reads like robot homework, you are not alone. One of the first things you need to know is what graphics card, or GPU, is actually in your PC. That little chunk of hardware does most of the heavy lifting when it comes to running/rendering the games, so it’s the most important part of a gaming PC/laptop.
Maybe you want to know if your system can handle a new release. Maybe you are updating drivers and do not want to install the wrong one, like it is a fun surprise. Maybe you just bought a used PC and want to make sure “gaming beast” was not code for “old office computer with confidence.” All fair reasons.
The nice part is that this is easy to check. You do not need to open your case, unplug cables, or poke around inside your computer like you are on an episode of Mr. Robot. Windows already gives you a few simple ways to find your GPU, and the fastest one takes about half a minute.
The Fastest Way: Using the Task Manager
If you want the quickest answer, Task Manager is your friend. Here is the shortcut for how to see what graphics card you have on Windows:
- Right-click your taskbar and click Task Manager.
- If it opens in the tiny simple view, hit More details at the bottom.
- Click on the Performance tab.
- On the left side, you will see a list of hardware sections. Look for GPU 0.
- On some systems, especially laptops, you might also see GPU 1. That is normal. One could be your built-in graphics, and the other could be your dedicated graphics card.
- The one you want to know about is the beefier “dedicated GPU” and not integrated graphics.
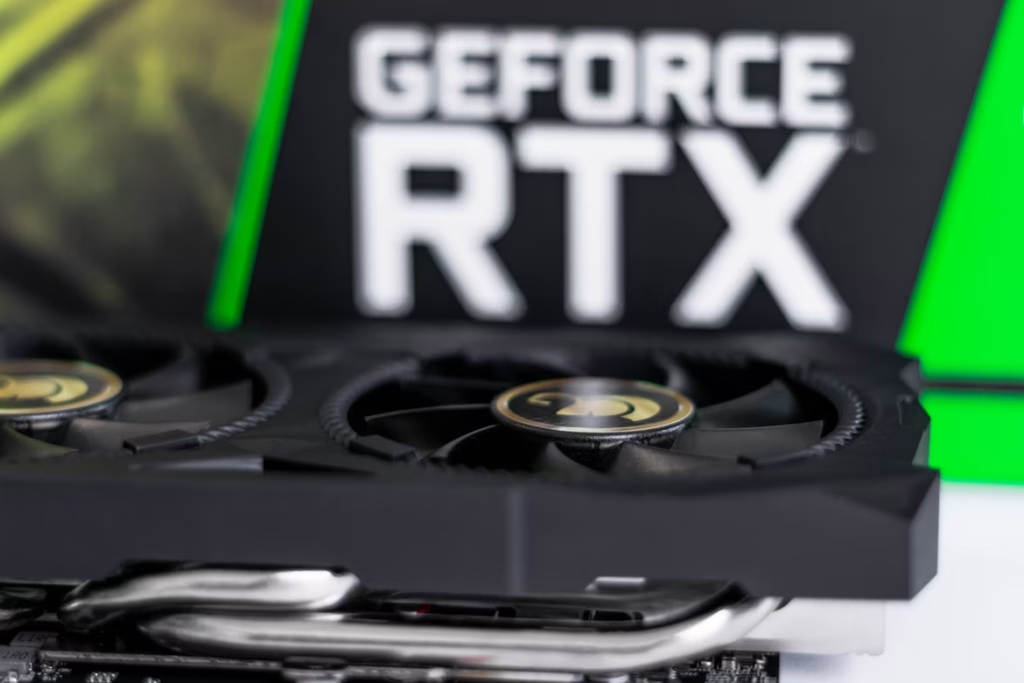
- Now look to the top right corner of that GPU page. That is where Windows usually shows the model name. Something like NVIDIA GeForce RTX 4060, AMD Radeon RX 7600, or Intel Arc whatever-fancy-name they came up with this week.
That is your answer.
Checking Your Graphics Card on Windows 10 and 11
Task Manager is the fast-food version of this job. Quick, easy, gets the job done. But sometimes you want the more official Windows route, especially if you are already poking around your display settings anyway.
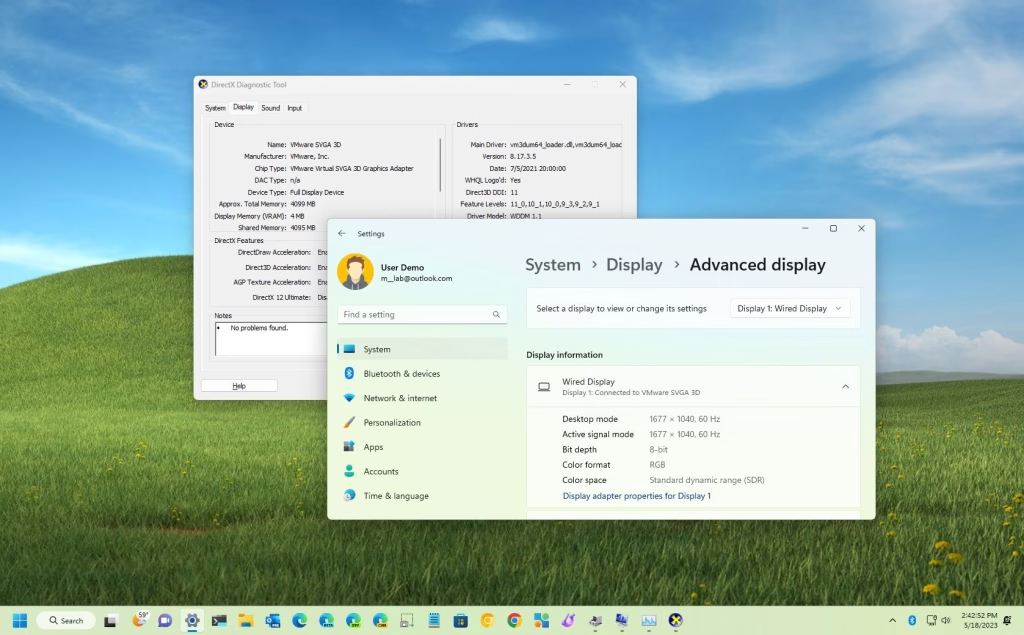
On Windows 11, go to Settings > System > Display > Advanced display. That page shows your display information, including the current resolution and refresh rate for the screen you picked.
It is handy because while you are there checking your setup, you can also confirm whether your monitor is actually running at the refresh rate you paid for. Nothing humbles a gamer faster than realizing their fancy high-refresh monitor has been cruising along at 60Hz this whole time.
On Windows 10, the display menus are still close enough. Head into Settings > System > Display, then look for the advanced display options from there. Windows also keeps Graphics settings under Settings > System > Display > Graphics, which is where you can manage graphics preferences for apps and games if your PC has more than one GPU.
Why does this matter? Because this menu is not just for identifying what your system is using. It is also where you can double-check things like resolution and refresh rate, which have a huge effect on how games look and feel. So even if you came here just to answer “what GPU do I have,” you might leave with the much more dramatic answer of “why has my monitor been set up wrong for six months?”
The Deep Dive: Using Device Manager or System Information
If Task Manager is being weird, or if you just want the answer in a more old-school Windows way, Device Manager is the move.
To check there, right-click the Start button and choose Device Manager. Then expand Display adapters. Windows will list the graphics hardware it detects there, which is usually the clearest way to see exactly what GPU is installed. If you have both integrated graphics and a dedicated card, you will probably see both listed.
If you want a little more detail, System Information and tools like DirectX Diagnostic Tool can help fill in the blanks. Microsoft points people to dxdiag for display-related details, and that is useful when you need more than just the name of the card. Stuff like driver info and display-related hardware details live there, which can be helpful if you are troubleshooting crashes, driver issues, or figuring out how much video memory your system is working with.
This “pro” version of finding what GPU you have is for times when you need some troubleshooting, not just the name.
The Gamer’s Secret Weapon: The DxDiag Tool
If you want the slightly nerdier method that still takes less than a minute, DxDiag is the good stuff. It stands for DirectX Diagnostic Tool, which sounds intimidating, but it is really just Windows’ built-in report card for graphics, sound, and DirectX-related bits. Microsoft’s own instructions point you to dxdiag when you want to check your DirectX version, and the tool also lets you inspect details across its tabs instead of just showing one lonely hardware name.
Running it is easy. Press Windows key + R, type dxdiag, and hit Enter. Once the DirectX Diagnostic Tool opens, click the Display tab. On some systems with more than one graphics processor, you may see multiple display-related tabs, which is normal. Microsoft’s support pages specifically call out the Display tab for graphics details and DirectX feature checks.
This is why gamers like it. DxDiag does not just tell you the name of the card. It can also show display-device information, DirectX-related details, and whether things like DirectDraw Acceleration and Direct3D Acceleration are enabled. If something is off in your DirectX setup, this is one of the first places Windows points you to check, which makes it useful when games are crashing, refusing to launch, or acting like they woke up angry.
I Found It! Now, What Do I Do With This Info?
Now comes the useful part. Once you know whether you have an NVIDIA, AMD, or Intel graphics chip, you can actually do something with that knowledge.
Check Game Requirements
The first job is checking whether your GPU lines up with a game’s minimum and recommended requirements, which stores like Steam list right on game pages and support pages. Those spec lists usually spell out the exact graphics cards, VRAM targets, and DirectX version a game expects. “Minimum” and “recommended” are not the same thing at all. Minimum usually means the game should run. Recommended is closer to “this might actually feel decent.” So if your GPU falls below the listed card, you may still launch the game, but you should not act shocked when it runs like a shopping cart with one square wheel. Steam game pages and support pages make those comparisons pretty straightforward once you know your GPU’s name.
Driver Updates
The second job is driver updates. Knowing the exact model name of your graphics card is how you get the right driver from the official vendor site. NVIDIA’s driver page is for NVIDIA cards, AMD’s support page is for Radeon and related products, and Intel has its own download center and graphics driver listings. Grab the wrong one and Windows is not going to clap politely and make it work anyway.
And yes, keeping drivers current can help with game support, bug fixes, and performance improvements. NVIDIA explicitly pitches its official drivers around gaming performance and app support, while AMD and Intel both provide dedicated driver tools and support pages for their graphics hardware. So once you find your card, the smart next move is simple: compare it against the game you want to play, then make sure the driver side is sorted too. That is the practical, grown-up version of PC gaming. Slightly less exciting than RGB. Much more useful.