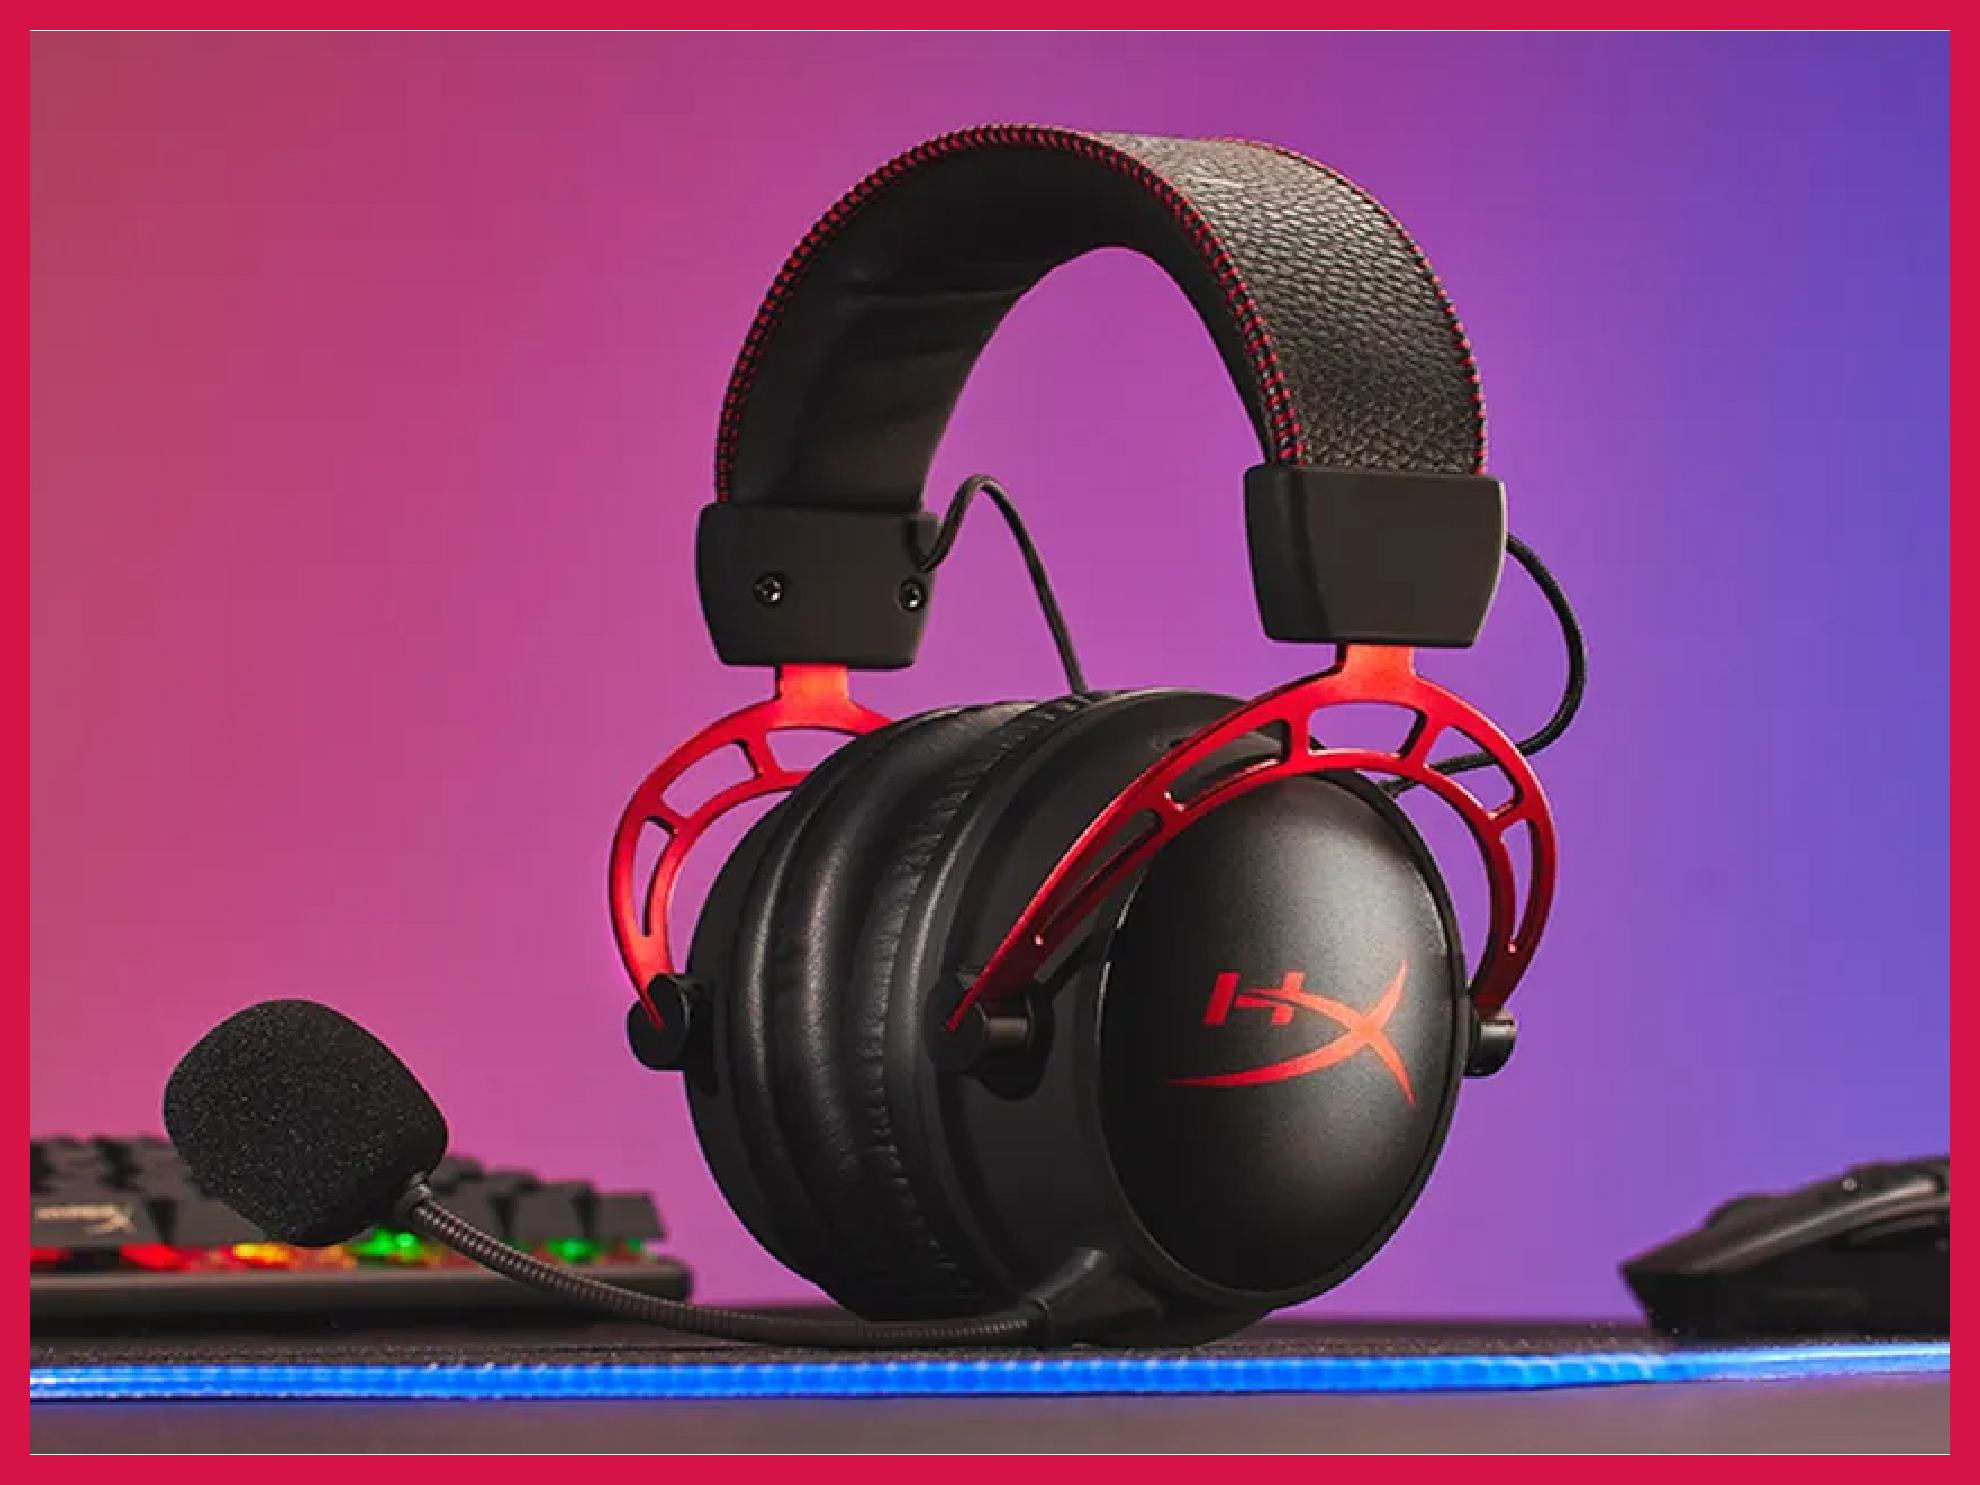
The HyperX Cloud Alpha is a professional gaming headset. A favorite of many gaming enthusiasts and professional gamers alike, it provides great comfort, sound quality, and options. Many users have reported the issue of the mic not working.
Is your HyperX Cloud Alpha mic not working? Of course, it’s not. Who’s got the time to read my troubleshooting guides if something isn’t broken or isn’t off the hinges?
There are many possible fixes and we’ll approach the problem in a step-by-step manner.
First steps
A lot of my gamer friends faced this problem. And it’d surprise you to know that over 80% of complaints were only because of one simple problem: the cord that was attached to the headset (and not the PC) wasn’t pushed all the way in!
Make sure it’s pushed all the way in and test the mic now. No amount of the jack sleeve should be visible.
Understandably, that was only 80% of people.
There’s also a mic mute button. During unboxing or setting it up, you could’ve just pressed the mute button. So, try to press it again and then test.
As it’s a 4-pole jack plug headphone, you need to make sure that audio-out and mic-in jacks are correctly placed in their respective ports on the PC case.
The headphone mic might not have access
Is your HyperX Cloud Alpha mic not working? Does Windows have access to its mic? In many cases, the OS doesn’t, and as a result, the headphones don’t work entirely or the microphone doesn’t work specifically.
Some privacy settings can create problems here. Let’s troubleshoot.
- Open Settings on your Windows PC.
- Go to Privacy > Microphone.
- Under the section titled “Allow access to the microphone on this device”, select the Change button.
- Turn the toggle on.
- Also, turn the “Allow apps to access your microphone” toggle on.
Test the mic now. If it still doesn’t work or if those toggles were on before, move on to the next step.
Update the drivers
Driver incompatibility can cause issues with any gaming headphone, not just the Cloud Alpha. If the HyperX Cloud Alpha mic is not working, try to update the drivers both ways: from Windows natively and manually.
- Open Control Panel (press Start and search for it or open Run with Control+R and type in “control”, then hit enter).
- Go to the Sound option (or search for it). The sound option is clearly visible with the Large icons view option within the Control Panel.
- Go to the “Playback” tab.
- Find your headphones, right-click them, and select Properties.
- You’ll find the Controller Information section. Click Properties under it.
- Choose “Change Settings”.
- Move to the Driver tab and select Update Driver.
- Choose the “Search automatically for updated driver software” option.
If that option tells you that you already have the latest drivers installed, go to the HyperX website, and find the drivers for the Cloud Alpha. Download and install as per instructions.
Don’t forget to reboot your device after driver installation.
If the mic is still not working, move on.
Mic device settings might be off
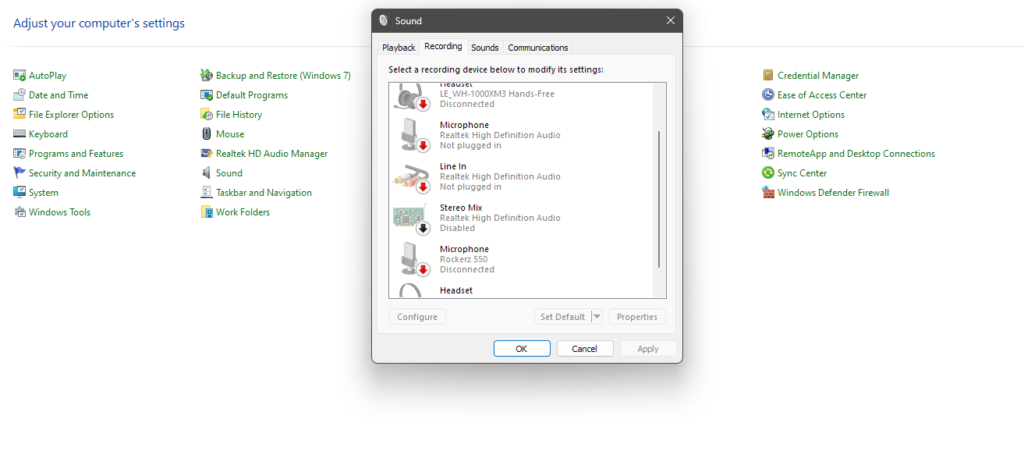
HyperX Cloud Alpha mic not working even after the above? Time to go a little deeper and check the microphone device settings.
The volume might be set too low, or the headphone just might not be the default device. In some strange cases, it can also be disabled without you having to do anything with it.
Open Control Panel once again and go to the Sound option.
- Go to the Recording tab this time.
- Right-click anywhere in the empty region and check “Show Disabled Devices” and “Show Disconnected Devices”.
- If your headphone appears now, right-click and choose “Enable”.
- Also, right-click it and check “Set as Default Device”.
- Now, right-click one last time (I promise) and select Properties.
- Go to the “Levels” tab and check the sliders. Set them as high as possible (if you have to readjust later, you can always come back here and turn them down).
Hardware issues
A primary reason behind the HyperX Cloud Alpha mic not working even though you’ve tried all the steps above might be some problems with the port, cord, or headset jack.
The male jack of the headset might be damaged. Test the headset on your phone to ensure it’s not. If the mic works there, then it’s not damaged.
Also, check the cord thoroughly once. The HyperX Cloud Alpha’s cable is detachable and can be replaced, if not repaired. If both the cord and the jack are fine, then the port might be the culprit.
If your ports are damaged, they’ll need replacing. If you have another 3.5mm headset with stereo and mic jacks that are working, try to see if it works with your PC.
It’s very common for gaming PC builds to not pay much attention to 3.5mm ports on their back panel. As a result, they often die out after a year or two. If the headset is alright (the mic works on your smartphone or laptop) but the mic doesn’t work on a PC even though you’ve connected the jacks into the right slots (audio-out and mic-in are compulsory to be connected into their respective ports), then the ports need replacing.


