

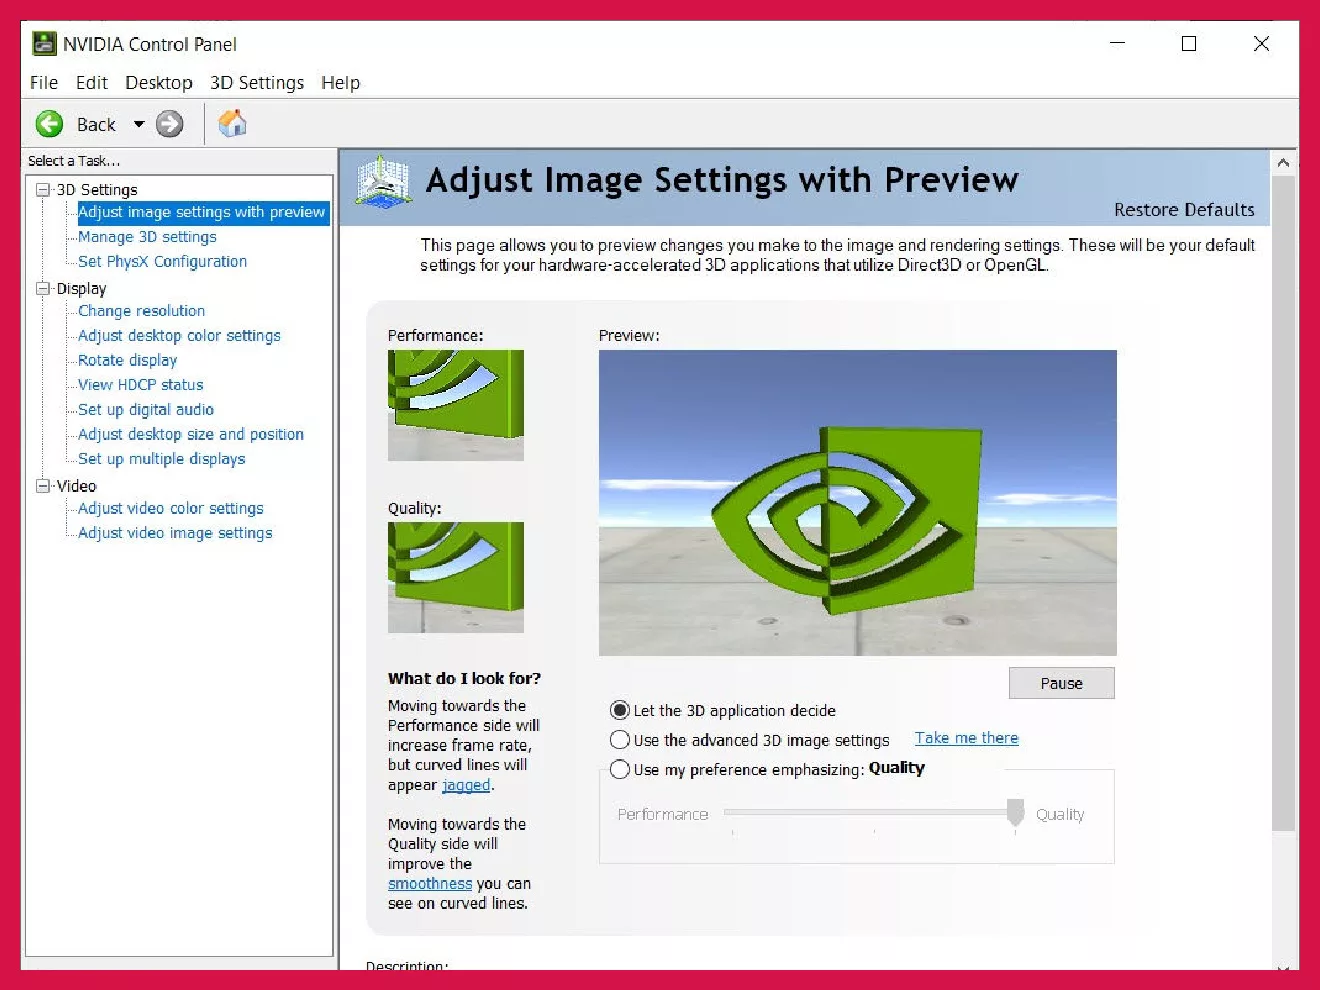
Nvidia Control Panel remains an app hardly opened by some, whereas a few others might be able to use it as a powerful tool to tweak their in-game performance. In this article, we’re going to tell you everything that is there to know for a gamer inside the dated user interface of the Nvidia Control Panel.
If you don’t have Nvidia Control Panel you can download it from Softonic.
Why should I use Nvidia Control Panel? Is it relevant?
Windows gives you the tools to do a lot of stuff. The rest individual applications (games) can handle themselves. But here’s a difference: The operating system only talks to the hardware through the drivers. Nvidia Control Panel can directly control the video output, telling the GPU how to output in the first place.
Technically, tweaking it through Nvidia Control Panel is the better option.
But it’s also true that when you’re playing a game and letting it (the software) talk to the drive through the operating system, there’s little to no downside to it. It’s not like this communication will be slower or there will be power wastage of some kind, for example.
Basically, it’s preferential.
What to do
In case you do decide to tweak the settings with the Nvidia Control Panel, here are the things to check:
Display settings
- Open the Nvidia Control Panel and navigate to “Adjust desktop size and position.
- Click on the “Override the scaling mode set by games and programs” option.
- Choose “Aspect Ratio” as the scaling mode and click “Apply.”
Power management
You’re better off leaving the Nvidia Control Panel to manage how your GPU uses power rather than the operating system.
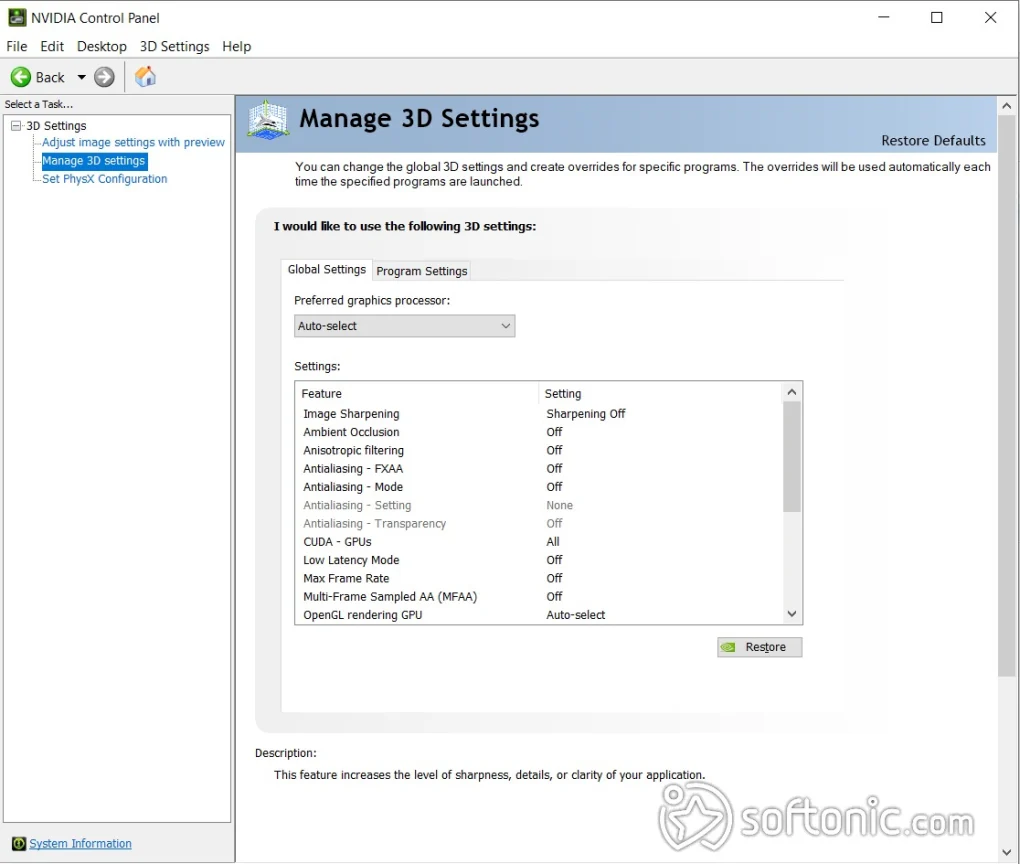
- Access “Manage 3D settings.”
- Scroll down to “Power management mode.”
- Choose “Prefer maximum performance.”
- Click “Apply”.
Texture filtering
Usually, I prefer the apps to decide texture filtering as all games are unique in what kind of textures they have to load and how they process them. But I’ve seen controlling this setting through the Nvidia Control Panel gives better clarity in niche cases.
- Go to “Manage 3D settings.” Note that anything mentioning 3D directly impacts game render quality.
- Find “Texture filtering – Quality.”
- Select “High performance.”
- Click “Apply.”
Threaded optimization
- Again, go to “Manage 3D settings.”
- Go to “Threaded optimization” and enable it.
- Click “Apply.”
V-sync
- Go to “Manage 3D settings.”
- Scroll down to “Vertical sync.”
- Select “On” to prevent screen tearing, or “Fast” to reduce input lag.
- After that click on “Apply.”
CUDA for PhysX
- Select “Configure Surround, PhysX” from the Nvidia Control Panel.
- Under “PhysX settings,” select “CUDA – GPUs” and check the box for your Nvidia graphics card.
- Now click on “Apply.”
Other things to do
All of the above should give you an ideal gaming experience. You’re free to tinker around. If you don’t understand a word, just Google it.
Here are a few other things you can do. Take note that some of these settings might cause problems in certain games or with certain other settings turned on:
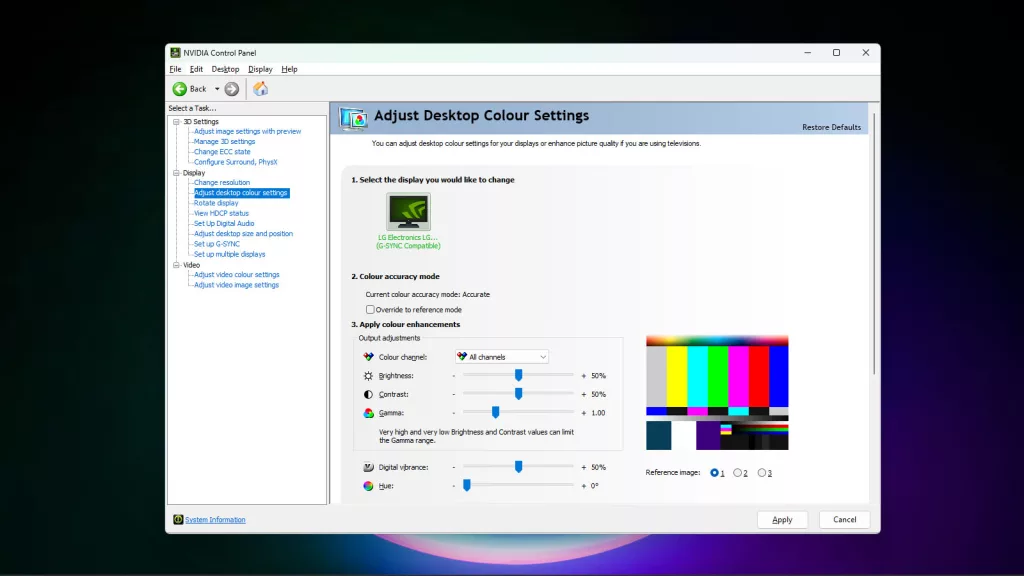
- Switch to Nvidia color management to manually calibrate your contrast and digital vibrance. It makes the color pop but you do lose some richness of the blacks on OLED displays. This can be great for FPS players.
- For increased clarity in night maps that allows you to aim better (without getting banned), do this in Display > Adjust desktop color settings:
- Brightness: +50%
- Contrast: +65%
- Gamma: +2.80
- Digital vibrance: +50%
- Hue: 0
- It’s typically better to disable G-Sync in the game settings if you’re setting it globally via the Nvidia Control Panel. For example, turn G-Sync on, disable the maximum frame rate if any, and set “Let the program decide” in V-Sync. In the game, turn V-Sync on.
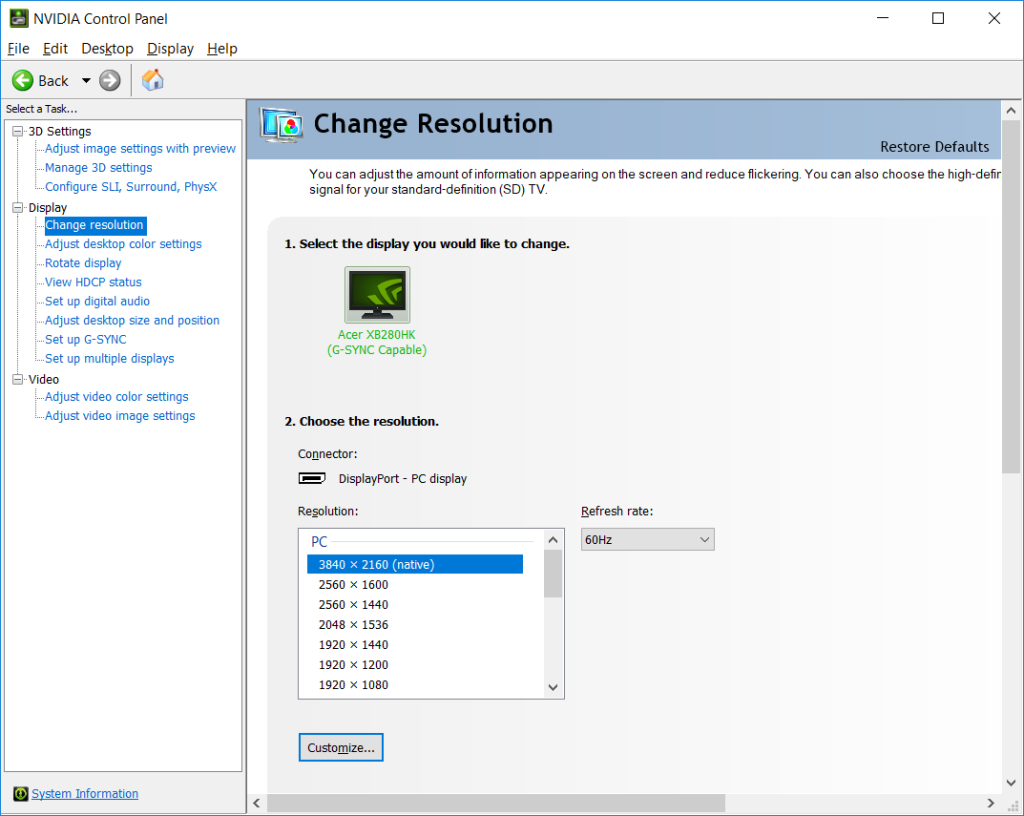
- In many cases, capping the framerate from Nvidia Control Panel gives a better performance without any FPS drops. If you have a 75 Hz monitor and your FPS is usually around 70-80, it might be better to cap it at 75 FPS in Nvidia Control Panel. Apart from reducing sudden FPS drops, it also allows the V-Sync to work more effectively.
- For G-Sync to be effective, you want to cap it 3 FPS lower than the screen’s maximum refresh rate. This is especially needed for games where the in-game settings provide “steps” in their FPS limiter and not a variable slider to choose your own. In such cases, go to Nvidia Control Panel and manually set the maximum FPS to 141 Hz for a 144 Hz monitor. Because if you keep it 144 Hz via the game, it will go outside the G-Sync range, thus triggering normal V-Sync that will just give you input lag.
- Image sharpening, ambient occlusion, anisotropic filtering, antialiasing settings, triple buffering, etc. are other settings that you can try tweaking. They will not always have an impact and sometimes, they might have a negative impact too. For these settings, you are recommended to test different options and see what works best for your games.
Wrapping up
The Nvidia Control Panel might not be a powerhouse but can be a nifty tool for any gamer with an Nvidia graphics card. It can surprise you if you do the tweaks right—At least that’s what I have found in my experience, which is also the experience of many PC gamers.
We try to use everything available at our disposal to improve our graphics and increase our framerates. Those are the two tenets of PC gaming. And the Nvidia Control Panel, when used the right way, can help you squeeze some good performance gains out of your hardware when done right.
Great Guide thank you