There’s really not much you can do about hardware without risking it when it comes to optimizing it for gaming. For example, the majority of gamers are only familiar with the processes of overclocking and undervolting their GPU, sometimes the CPU, and rarely the RAM. But SSD is one aspect that can be optimized in a risk-free way. If you’re lucky, this can be your ticket out of slow-loading games.
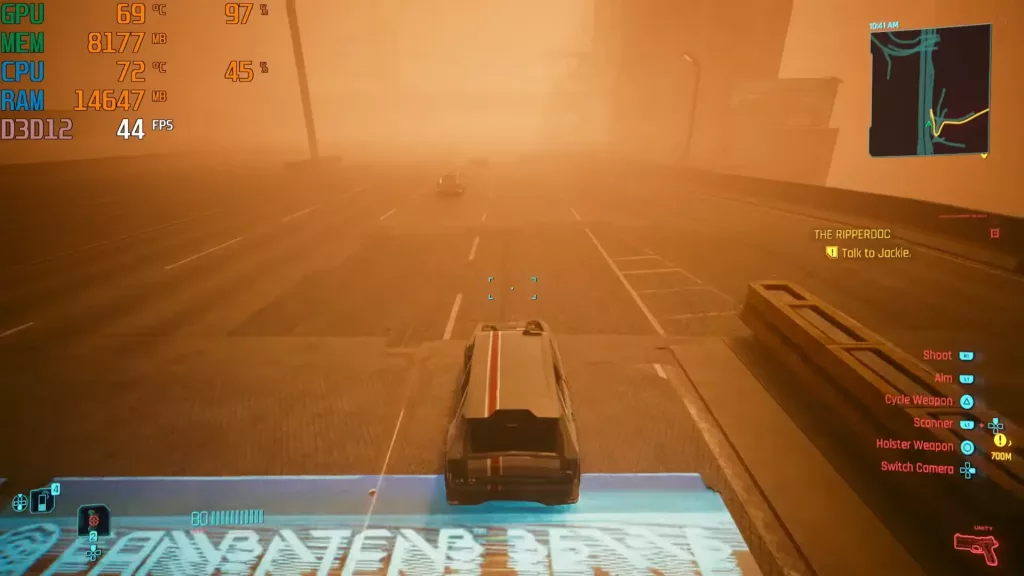
Please note that the SSD does not improve game rendering. It cannot improve your thermals, effects, FPS, etc. Faster SSDs only do one thing – they make loading times shorter. This includes the game’s initial loading time as well as any in-game loading process (like loading screens, loading the map, going into new territories, etc.).
None of these steps directly affect a game’s performance. They lead to better overall SSD performance. And that, in turn, should offer marginal improvements in certain situations while you’re gaming. As a bonus, you get a faster PC in general, not just a PC that can run games better.
1. Free Space
SSDs are significantly faster than HDDs. But they come with a downside over HDDs. When SSDs are full, they often experience a reduction in their performance. The lifespan is reduced too. Always keep free space or buy higher storage.
2. Ports
If you’re connecting a SATA SSD (not an M.2), then make sure you’re connecting it to the 6 Gbps port, not the 3 Gbps one. Consult the motherboard’s manual to confirm. If you’re connecting it via the M.2, just snap it into the port and you’re done.
3. Power Settings
Open Start and search for “Choose a power plan.” Besides the selected plan, click on “Change plan settings” and then “Change advanced power settings” at the bottom. In the dialog box that opens, set “Turn off hard disk after” to 0 and “PCI Express > Link State Power Management” to Off.
The first tweak prevents your drives from going to sleep. This is optional; the disk will not go to sleep in the middle of a game anyway. The second tweaks prevent the computer from downclocking the drive when idle. Sometimes, the SSD will idle in the middle of a game, so you can expect performance improvements here under those circumstances.
4. TRIM
Open CMD as an Administrator and enter this command: fsutil behavior query DisableDeleteNotify – if you see 1 here, it means TRIM is not configured. In this case, write the same command again followed by 0. If it returns 0, TRIM is set up.
TRIM is an SSD feature that helps the drive maintain good health with the help of garbage collection with no downside.
5. Steam Games
Games should always be installed on the SSD. If you install Steam on your SSD too, the default directory will be set to this drive as well. If you have games on other drives, you can easily move them to a different drive, or the SSD. In your Steam game library, right-click the game and select Properties. In the Installed Files section, you can select “Move install folder” to relocate the files.
6. SSD Software
SSD manufacturers often have apps that you can install to monitor your drive’s health. Some tools are better than others. For example, Samsung’s Magician Software can be used to do firmware updates and OS optimizations such as paging, hibernation, cache sizes, etc. If your SSD brand has one, make sure you install it and check out all the options.
7. Benchmark
Use CrystalDiskMark to benchmark your SSD’s read and write speeds. Compare these speeds with the advertised speeds. Rarely, sellers try to scam people by selling them a different, cheaper SSD. This is a good way to test if you have the real thing or not.
8. Write Caching
Open Device Manager by typing it into search. Right-click on your SSD’s name and select Properties. Go to the Policies tab and turn on “Enable write caching on the device.”
Turning write caching on means the RAM will be used to collect write commands and then send them to the SSD. This does come with a warning, but SSDs are much faster than HDDs, so any data will be saved even in the case of a power outage.
9. Defragmentation
Search for “Defragment and Optimize Drives” and open the Optimize Drives tool. Here, make sure your drive is set to weekly optimization. You can click on the “Change settings” button to turn it on if it’s off.
Defragmentation and optimization simply mean putting the data in order. In the older days, you had to do this manually and it took quite a while. Windows 10 and 11 are faster and so are today’s SSDs (compared to HDDs). Setting it on a weekly schedule can lead to incremental benefits, though it’s debatable how much can an SSD gain from defragmentation as it’s mainly a feature for HDDs.
10. Disk Cleanup
Search for “Disk Cleanup” and right-click on the result to run it as an administrator. Alternatively, open it normally, choose your SSD, and click on the “Clean up system files” button. Select all boxes and proceed.
This is all extra cruft that Windows has collected over time. If you don’t clean up your SSD routinely, it can pile up pretty quickly. The only thing you might want to leave unchecked is the Recycle Bin if you’d rather clean that manually.
11. WinDirStat
Install this nifty tool to analyze what’s taking up space in a more detailed manner. I like to turn the tree map off, which is a visual representation of what file types are consuming the most space. If you turn it off, the analysis will be faster.
12. Hibernation
Open CMD as administrator and type the command powercfg -h off to turn Hibernation off.
Hibernation is different from a PC’s sleep state as it saves everything on the disk rather than the RAM. Weigh the pros and cons before you do this. For the most part, it’s perfectly fine to not have this feature. You can simply lock or sleep your PC when not in use.
13. Windows Search
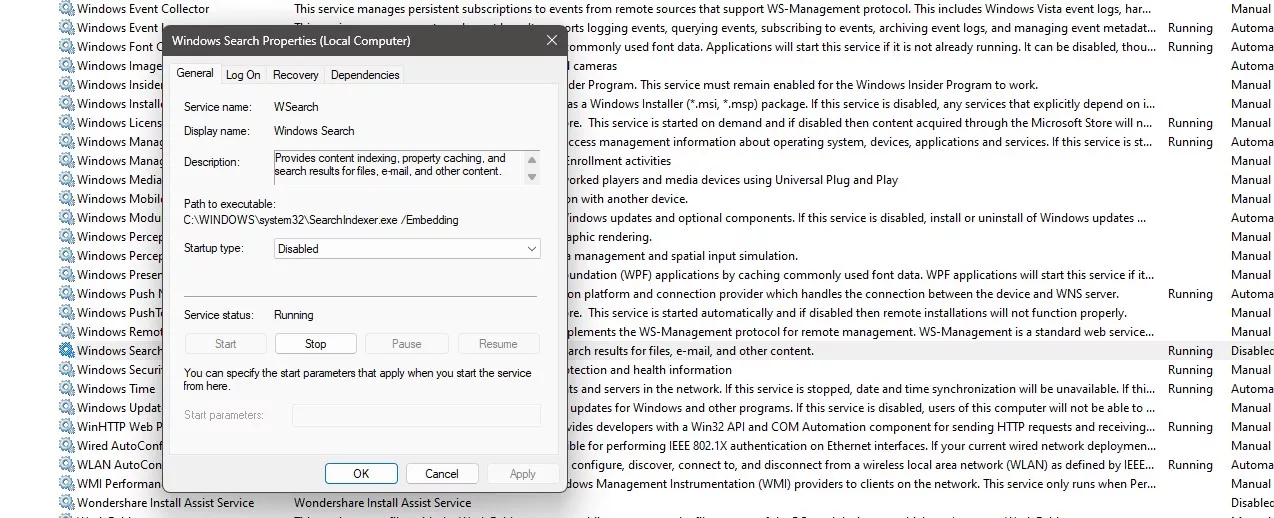
Open Run and type services.msc then press Enter to open the Services tool. You can also open it by typing “Services” in the normal Windows search. Here, find the service named “Windows Search” and double-click on it. Click on “Stop” if it’s already running. In the “Startup type” dropdown, select “Disabled” to turn it off permanently.
While you’re here, you might also want to set to manual a few other services, such as your GPU manufacturer’s crash reporter or your browser’s automatic updater. Do not disable these.
This Windows Search service is a non-vital internal process. If you’re not searching your PC a lot, you most likely don’t need this. The feature constantly analyzes files on the PC to make sure when you do search for something, the results are a tad bit faster. If any disk-intensive process happens while you’re gaming, it can consume cycles that are better left for the game. The actual search functionality of your Windows PC will not stop working if you disable this. And don’t worry while turning services off or setting them to manual here. Anything that’s crucial for Windows to work cannot be changed to begin with.