Today, we’re going to talk about the technical aspects of choosing a gaming mouse. Shane has already covered the basics in his guide, such as design, aesthetics, ergonomics, programmable keys, build quality, weight, etc. This guide is the second part of it, covering the more nuanced and technical aspects of today’s gaming mice.
Calibrating your mouse’s sensitivity for your perfect use case is the ultimate aim. Throughout this guide, I’m going to talk about all of these terms and optimizations with that goal in mind, telling what to do and what not to do for that butter-smooth mouse gaming experience.
DPI or CPI
A DPI of 2000-3000 is often enough to cover a 1440p panel comfortably with high speed.
DPI means dots per inch and CPI means counts per inch. It’s the resolution or the calibration of the sensor. A more powerful sensor will be able to cover more distance on the screen while covering less distance physically. Therefore, the higher the DPI or CPI of a mouse sensor, the more the cursor can move with the same amount of physical movement.
Let’s say a mouse has low DPI. This mouse will move 2 pixels on the screen for 1 cm of movement on the surface. A higher DPI sensor can move 6 pixels on the screen for 1 cm of movement on the surface. It feels as if the mouse is getting faster, which is correct. You need to move your hands less to cover more distance. Many gaming mice come with adjustable DPI settings. For example, you can choose any DPI between 1000 and 4000 with 50-DPI increments in many cases.
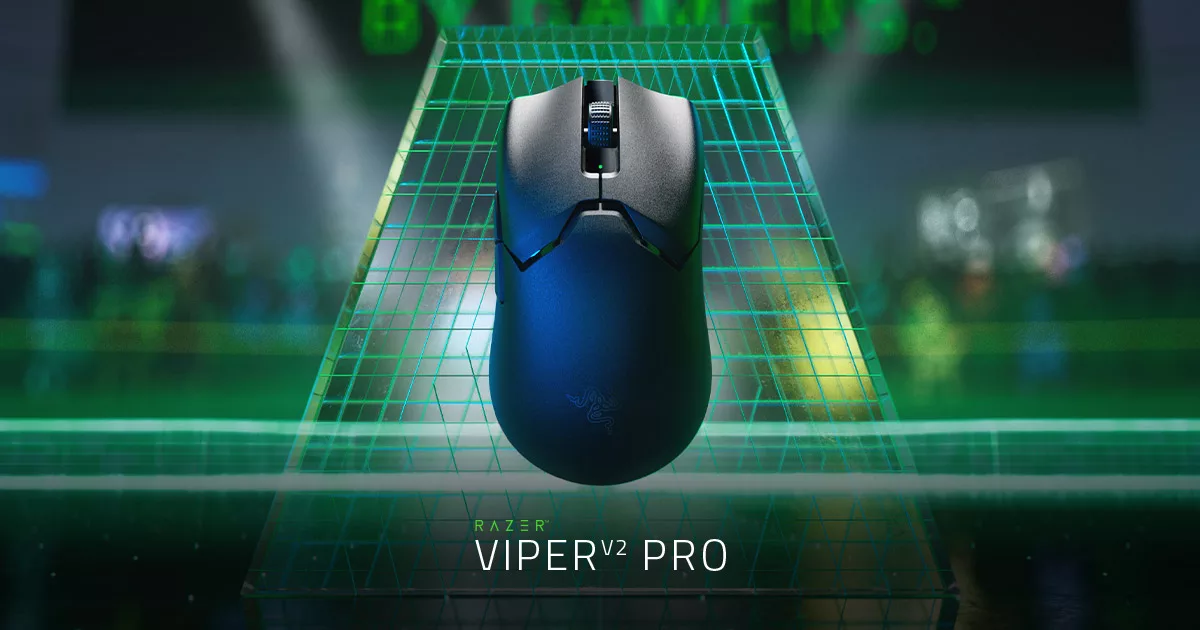
You should test different DPI values and match your previous mouse experience. Every few days or weeks, increase the DPI a little until you hit the maximum allowed by your mouse. It’s a good way to react faster in games. A lot of gaming mice offer even higher DPIs, such as up to 8000, 10000, or even 25000. The Razer Viper V2 Pro’s sensor has a maximum DPI of 30,000. Logitech G502 HERO has a maximum DPI of 25,600.
Up until a point, higher DPI values will certainly help you. But beyond 6-10k, the difference becomes smaller and smaller. It’s like increasing FPS beyond 150. Sure, things become smoother but less noticeable. If you’re on a 1080p or 1440p screen, playing competitive games, and have high mouse sensitivity, a DPI in the range of 2000-3000 should be sufficient.
Because gamers feel higher DPI means better performance or (incorrectly) more accuracy, smaller companies often offer higher DPI while sacrificing the rest of the features (bad weight distribution, for example). In many cases, they might even use software optimization to trick the cursor into moving faster, which is not true DPI improvement. These are all bad deals. Don’t be sold to DPI numbers without doing your research, especially if you’re considering a less-known brand. Typically, anything above 4000+ DPI doesn’t help you and can be safely ignored when making a buying decision.
Sensors
Optical sensors in modern gaming mice are generally better than laser sensors, even on glass.
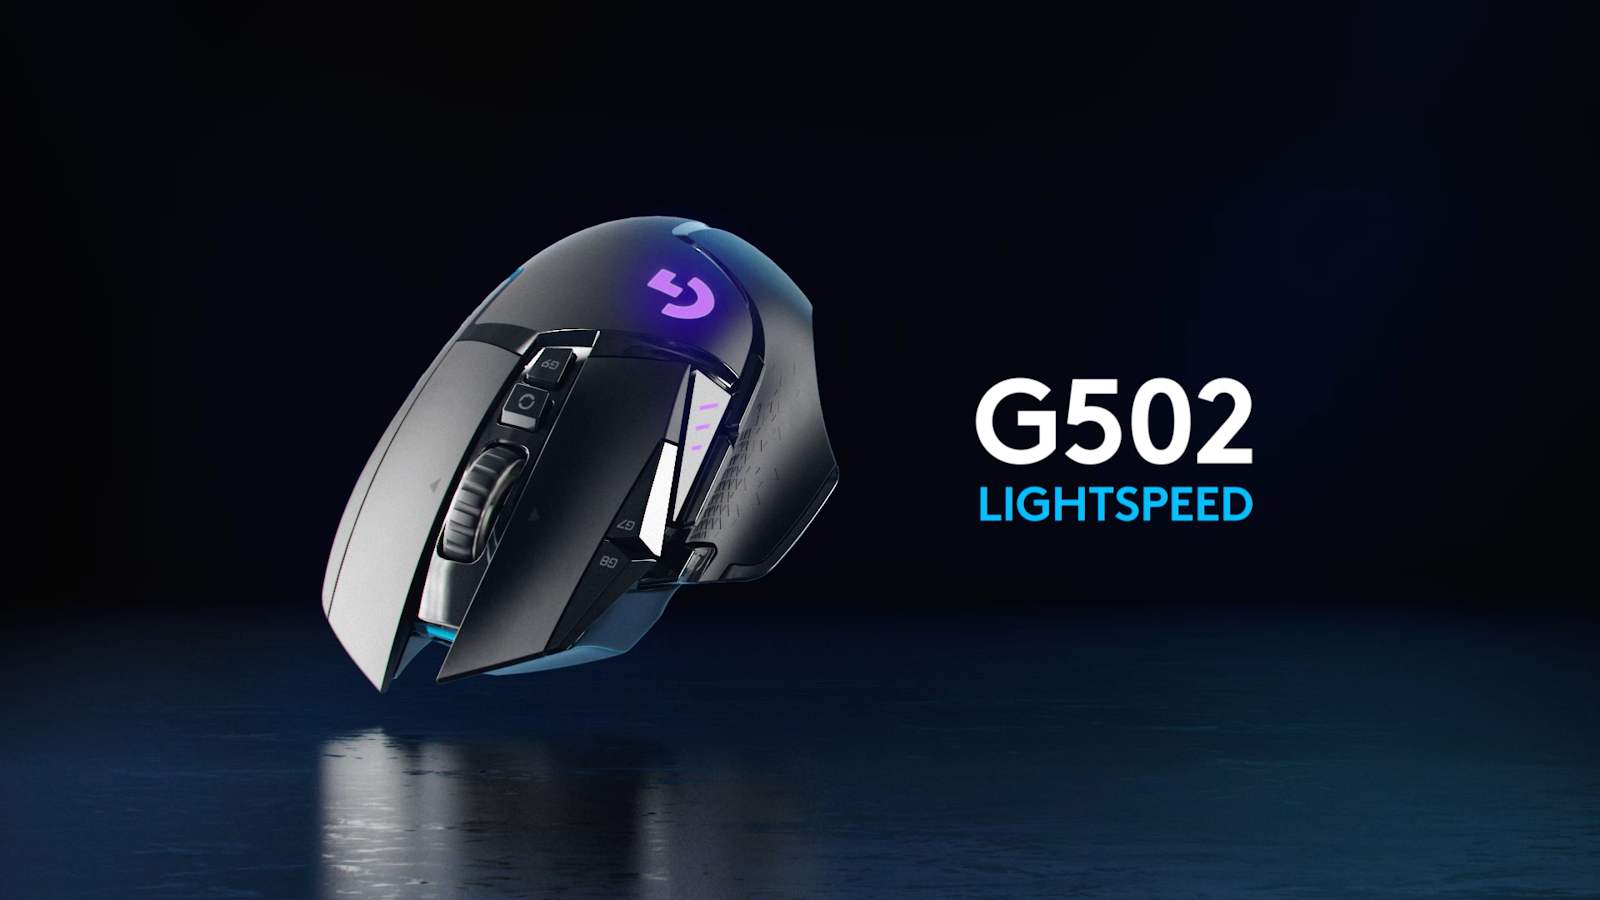
There are two main types of sensors that modern mice use – laser and optical. Laser mice use an actual laser to see what’s below and determine the positioning. The idea is (or was, at least) that as lasers can work on any surface, laser sensors will be able to track on any surface, such as wood or glass. Well, it turns out that optical sensor technology improved by leaps and bounds over the years. Today, optical mice are almost always better than laser mice. Laser mice also happen to struggle at high DPIs and their hardware acceleration is almost always buggy.
For example, even the Logitech MX Master 3S, a “productivity” mouse with an optical sensor, not even a gaming mouse, comes with a sensor called Darkfield. This mouse can go up to 8000 DPI, offer accurate tracking even at insane maneuvers, and track on any surface (literally, even a glass pane).
Optical sensor technology has come a long way. Today, it makes no sense to limit your search criteria by the type of sensor. You can safely disregard the talk about sensors and just consider the other factors to make your pick.
Windows Pointer Speed
Set pointer speed at 6/11 and turn precision off.
Windows has a built-in setting to adjust your pointer speed (Control Panel > Mouse > Pointer Options). Now, what does this one do? Well, it introduces a limit on your mouse’s native DPI. This slider has 11 notches. Set this at 6/11, turn off the toggle for “Enhance pointer precision,” and then test which mouse DPI works the best for you.
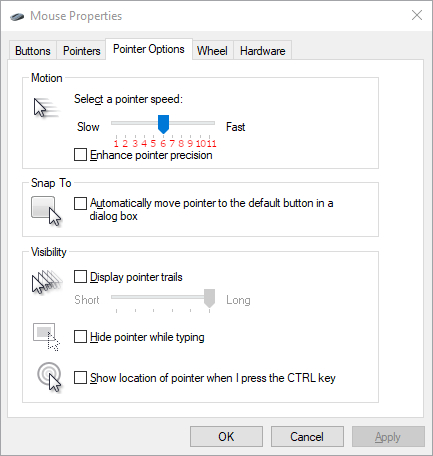
If you turn this very high, it will overtake the DPI settings of the mouse and the motion will not be smooth. If you have a gaming mouse with an adjustable DPI, it’s best to set this at 6/11 or lower (you can experiment with different values).
This will reduce the effective DPI of your mouse. More precisely, it will reduce the raw DPI value of the mouse. The raw value is still used by some games during aiming, completely bypassing the Windows pointer speed, but not in the rest of the gameplay.
This way, you are getting a good speed on low DPI while benefiting from the higher sensitivity or smoothness of the higher DPI value of your mouse. This is the perfect balance. Professional players, especially those playing tactical first-person shooters, tend to keep this setting at 6/11, 5/11, or 4/11 while turning up the mouse DPI.
At notch 6/11, the exact sensitivity value is 1. At 11/11, it’s 3.5.
Precision
A polling rate of 1000 Hz is common even in entry-level gaming mice, which is ideal.
Next up, we have the question of mouse precision. Typically, all mice are equally accurate. Imagine you’re holding a gun. The accuracy is how closely you can hit the target. All mice allow you to hit pretty accurately unless something is wrong with yours. The precision, however, is a different story.
Precision is all about consistency.
In a first-person shooter, a sniper rifle will rely almost exclusively on accuracy. You scope in, find the head, and pull the trigger. But when you’re holding an AK47 and in close quarters, you need to spray. You will see that the game itself has a recoil engine that makes your aim go haywire if you spray. This can be an analogy for mouse precision. In the same situation, a gun with less recoil, such as FAMAS or AUG, is more precise. A gun in CS2 that has less recoil, such as FAMAS or AUG, is more precise. This is just an example to help you better understand precision vs. accuracy. A more precise mouse will not bypass the in-game recoil system!
Make sure you really, really understand this. Two mice have the same accuracy. But you see when you are spraying bullets, tracking large landscapes, or performing fast clicks by turning on all sides, one mouse hits the targets more often. This mouse is more precise. It hits more bullets at the point you select (whereas the accuracy determines where that point is).
The perfect control speed is the maximum speed of tracking and reporting the cursor position data. This determines the control you have in the game. The higher this is, the better. There’s another factor called the malfunction speed. Whereas the perfect control speed is the raw input that does not take mouse acceleration into account, the malfunction speed tells you how fast your mouse can track including the mouse acceleration, if any. It’s a measure of the speed at which your mouse will lose track of its position when moved too fast.
The next question is what affects these speeds? The answer is its polling rate.
Every mouse has a polling rate. This usually determines how quickly the mouse reports the position back to the operating system. A high polling rate mouse is more precise than a low polling rate one because the low polling rate has more gaps in its reporting. Gaming mice also allow you to adjust polling rates or at least, they come with quite high polling rates.
If not, there are other ways to increase your polling rate, including some pretty risky ones such as overclocking the USB port. The USB port is capped by the OS to offer a default speed. This has a built-in lag or response delay. If you bypass it, you can make your 125 Hz USB polling rate with an 8ms response time go 1000 Hz at 2ms, for example. Keep in mind that overclocking doesn’t work for wireless mice and you can’t increase the polling rate to 500 Hz when the mouse doesn’t even support that hardware-wise.
You can overclock your USB port by editing a system file called usbport.sys. It’s fairly safe as tinkering with this can’t cause crashes or anything. The mouse is a fairly simple component. But before you go down this route, check the polling rate of your mouse to see if it’s already fine. If it’s low, you will need to download a patched usbport.sys file from the internet, rename the old one (to keep it as a backup), and place the new file in the Windows\system32\drivers\ directory. A good gaming mouse will have a very high maximum polling rate to begin with, so you don’t necessarily need to worry about this.
- Logitech G502: 1000 Hz
- Razer Viper V2 Pro: 1000 Hz (10,000 Hz with HyperSpeed Dongle)
- Fantech Aria XD7: 1000 Hz
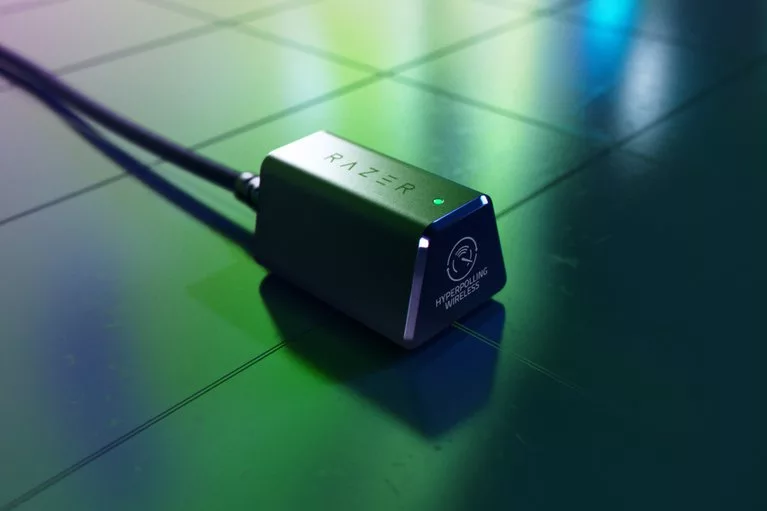
- Razer Basilisk V3: 1000 Hz (8000 Hz with HyperPolling Dongle)
- Razer DeathAdder V3 Pro: 1000 Hz (8000 Hz with HyperPolling Dongle)
- Razer Viper 8KHz: 8000 Hz
- Logitech G Pro X Superlight 2: 2000 Hz
- Pwnage StormBreaker: 2000 Hz
- Cooler Master MM720: 1000 Hz
- Corsair M75 Air (Wireless): 2000 Hz
- Logitech G203 LightSync: 1000 Hz
- Razer Cobra Pro: 1000 Hz (8000 Hz with HyperPolling Dongle)
- HyperX Pulsefire Haste 2 (Wireless): 8000 Hz
- Mad Catz R.A.T. 8+: 2000 Hz
- Razer Naga V2 Pro: 1000 Hz
- Corsair Scimitar Elite (Wireless): 2000 Hz
- ROG Harpe Ace Aim Lab Edition: 1000 Hz
- ROCCAT Burst Pro Air: 1000 Hz
Acceleration
Turn off “Enhance pointer precision” from the Control Panel.
Acceleration is counterproductive. Sometimes, it’s natural. At other times, it might be intentionally turned on using settings or by default. The cursor basically tends to move more if you move your palm quickly. A good sensor will never have inconsistent tracking issues, a common cause for bad acceleration. If you find your cursor not stopping where it’s supposed to stop when you move your mouse quickly, it’s accelerating.
And it’s bad.
It’s not always easy to spot all types of mouse acceleration. On the other hand, some actually like acceleration. It feels more natural to them. A bit of a motion blur thing, if you ask me. Some like it, but other gamers abhor it.
If you’re in the market for a gaming mouse, it might help to filter your results by those who claim that there’s no acceleration. If you do notice acceleration or just want to be on the safe side, you should turn off the setting I mentioned in one of the earlier sections.
Control Panel > Mouse (could be hidden under Hardware and Sound) > Pointer Options and then turn off the toggle for “Enhance pointer precision.”
Lift-Off Distance
Keep the lift-off distance at 3mm or lower.
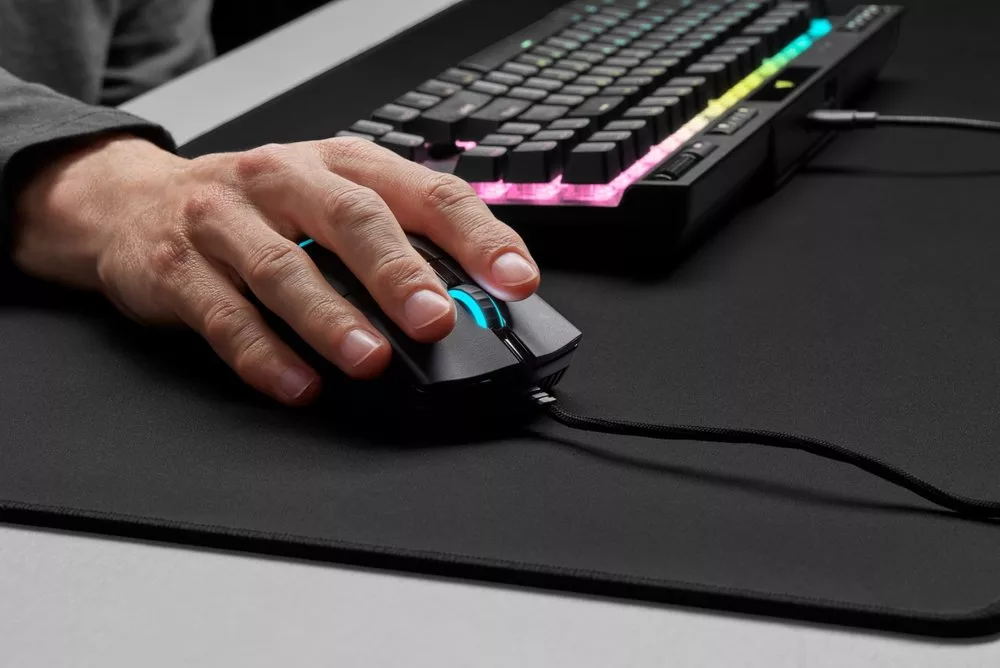
The lift-off distance or LOD is the height at which the sensor will stop tracking. If it’s too short, minor repositioning of your mouse will not be tracked, thus keeping your aim more stable.
Not all gaming mice allow you to change the LOD setting. Some mice do have special combos that you can press for different speeds. Google your mouse’s situation for the best results. If there’s no way, you might need to do something with your mouse, like taping something on the bottom part.
If, on the contrary, you feel the LOD should be higher, you should be looking into a good laser sensor mouse. As these mice use lasers, they have better tracking even when the mouse is lifted off. A higher LOD will mean that your cursor moves more even when you reposition your mouse. A lower LOD will mean that slight adjustments in your mouse positioning when you lift it or shake it are not tracked. Generally, 3mm is enough.
If you’re worried about your crosshair placement and aim stability, the LOD should be even lower than 3mm. This means that if you adjust your mouse frequently by lifting it a little, this will not change your cursor position by a lot, if at all.
Parting Remarks
All that being said, the best settings are unique to you. You need to do your due diligence and experiment with different settings to arrive at comfortable mouse settings that work for your hands, reaction times, and most importantly, the exact games you play. I play MMOs, MOBAs, and strategy games mainly. My settings are 4000 DPI, 5/11 mouse pointer speed, and acceleration turned off. For my friend who also plays similar games, this is too much speed. He beats me in most games with a DPI of 1500 and the acceleration actually on.
So, it depends on what works for you.
It also depends on what games you’re playing. For example, both of us will do better with +500 DPI in the FPS genre, compared to -500 DPI, on average. Finally, it also depends on your monitor. If you have a larger monitor, such as a 32” 4K panel or two 1440p monitors, the DPI should be higher than normal so you can cover more screen real estate quicker without having to move your hand all the way from London to Moscow.
Keep all this in mind if you’re hunting for a fast gaming mouse. But these are only the technical considerations. You also have to consider the size, shape, weight, build quality, and price, of course.
- Overclock Forums have a detailed list of all sensors and which brands and models use them.
- Avoid wireless mice because they are always going to be slower than wired mice with the same hypothetical configuration.
- A 17+ years old guide on ESReality is the go-to resource for more in-depth technical analysis. You can ignore the sections on different mice as those are no longer in fashion, but the benchmark part is spot-on to this date.
- Don’t buy a mouse just because an esports player is promoting it.
- Gold-plated cables are useless and can be safely ignored when making a purchase decision.


