PCs tend to have this bad habit of getting themselves into trouble. Gaming PCs, being more complex machines with more parts or more advanced parts at least, tend to do this a lot more. There are a bunch of free tools and apps that you can use to diagnose your PC and go to the root of the problem. Feel free to skip the “Before We Begin” section below if you do not need generic advice.
Before You Begin
Before I start talking about the exact steps and tools you can use, here are some general points for your own good.
Don’t Assume
You’d do well to throw all your past experiences out of the window. The biggest mistake a lot of gamers make is that they assume they know the root of the problem. Well, spoiler alert – you probably don’t. It’s not your fault. Five different problems might have the same symptoms. So, if you know one cause, it doesn’t necessarily mean that history is repeating itself. No need to waste time on incorrect troubleshooting.
Don’t Rush
A lot of us tend to Google something quickly and try out a solution. Though it works most of the time, more complex problems are different. There is always a possibility that you end up on a page or discussion that’s not about your exact problem to begin with. As such, following any fix can potentially lead to even more damage. This is especially true for “fixes” that are more structural, such as deleting system files, editing the registry, installing shady software, or checking if your PC is getting enough power with your bare fingers.
Complete Overview
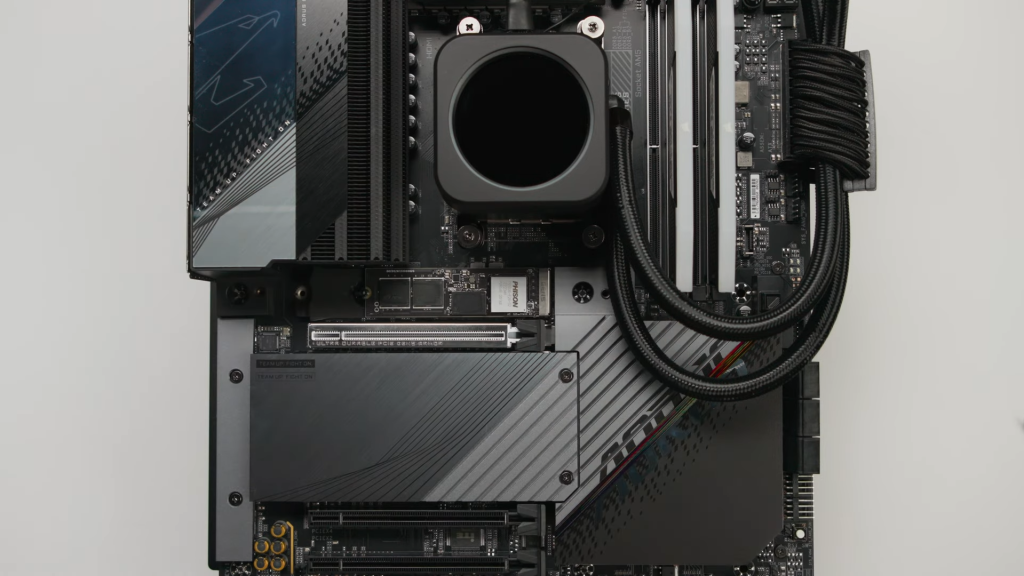
It helps to build a comprehensive understanding of the problem. If you have a hardware issue, you should check the cables first of all. Is everything connected as it’s supposed to be? Is there any damage? Any funny smells? Are the fans working? Also, you can try reseating the RAM sticks with absolutely no fear. If everything is right and reseating the RAM is not fixing the issue (or if it doesn’t apply to your problem), you might want to disconnect devices one by one to isolate any problem.
Safe Mode
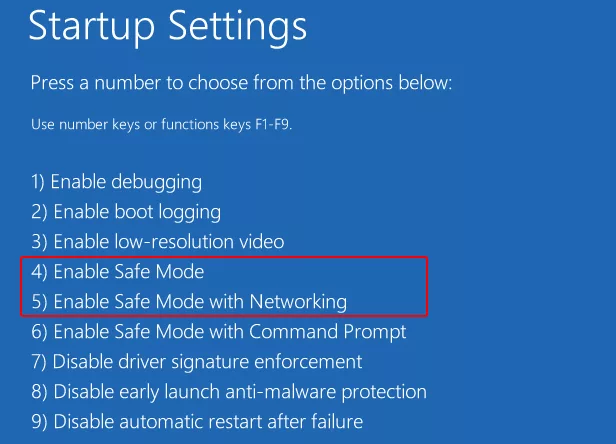
The first tool at your disposal is to attempt a safe boot. Follow Microsoft’s official guide on starting your PC in safe mode. Turn off networking if you won’t need the internet. If the problem does not appear in Safe Mode, you can try disabling services, apps, and hardware one by one. The Safe Mode also bypasses the GPU, so it could be a display error as well. To test this, try plugging your display cable directly into the motherboard. In some PCs, you might additionally need to set display priority to motherboard or integrated graphics from the BIOS.
Once you isolate what’s causing the error, it’s time to research potential fixes for that service, app, or component.
Windows Tools for Basic Troubleshooting
If you don’t have a problem with Windows booting, you can try a few built-in tools to find any culprit.
- Use Task Manager to check abnormal usage of any component.
- Use MSConfig or Services.msc (type in Run) to turn off any services you don’t like the look of. Essential Windows services cannot be turned off anyway.
- Run the CHKDSK, SCF, and DISM tools for disk-related issues. These can take a while. Open a Command Promot (Run as Administrator) and type “chkdsk /r” then “chkdsk /f”. If this utility can’t find any problem, use SFC (System File Checker). The command is “SFC /scannow”. Lastly, DISM needs an internet connection. The command is “DISM /Online /Cleanup-Image /CheckHealth” to check any corrupt files in Windows. Swap that with /ScanHealth for more complex issues. You can then use /RestoreHealth to repair Windows image problems.
- Search for Performance Monitor and open the first result. This tool gives you a quick overview and allows you to isolate any system-level errors. Go to Reports > System > System Diagnostics > Your PC’s Name. You will find details statistics across different hardware components.
Free Tools for Hardware Diagnosis
Now, we’ll get to the meat of the discussion. Some tools can help you get a clearer picture of the most important components inside your gaming PC. Compare the stats with what’s supposed to be normal to find any outliers. These are the culprits.
- CPU-Z: Use it to get a detailed analysis of your processor, mainboard and chipset, and memory. It can also give you a detailed breakdown of real-time core frequency and temperatures.
- GPU-Z: This one is for all graphics and display information. You will see the clock speed, specs, temperatures, and much more about your graphics card, whether it’s Nvidia, AMD, or Intel.
- CrystalDiskInfo: It’s the go-to software to test your disks – HDD or SSD. You will find temperatures, features, read and write counts, and a bunch of other troubleshooting information. For benchmarking, you can use the sister-tool CrystalDiskMark. Slower-than-usual drives can cause many errors. If you benchmark your SSD and compare it against the supposedly correct values, you might be able to find your culprit.
- AS SSD: This tool can be used to run various tests on your SSD. Stress tests can help you find out potential problems.
- HWiNFO: This is an all-rounder. You will find information and real-time sensor data for various internal components in minimum, maximum, and average columns. The reporting is extensive and allows you to find any discrepancies. For HWiNFO, however, you’d need to know what you’re looking for, otherwise, it’s easy to get lost in all the data.
- FurMark: This one is a stress test for your GPU. If you suspect a GPU problem, you can replicate a crash with this, for example. If your GPU’s FurMark score is extremely lower than the average, you have a problem. If FurMark is causing crashes, blue screens, or other problems, it’s a malfunctioning graphics card.
- MemTest86: This tool is downloaded on a USB flash drive to test for RAM faults. It uses different algorithms and patterns to find any problems in your memory. Windows also has a built-in tool for this (Run > mdsched.exe). RAM is important for apps to work, so these tests will work before you boot into the OS with a restart.
If your CPU or GPU is running too hot, improving airflow and cooling within the case will help. Check our guide on managing GPU temperature and the one on ensuring proper cooling within a gaming PC.
Flashing the BIOS
You can flash your BIOS with a newer version to update your firmware using the built-in Q-Flash utility.
It’s a last resort – I want you to understand that. Without pointing any fingers, I’d say a bunch of people (and gamers especially) tend to assume very badly. In their attempt to fix any issues, they make the situation worse. A completely unrelated problem such as a loose wire somewhere will have somebody try to forcibly insert the GPU and damage the socket or try to get into BIOS and brick the system.
But if you do know that BIOS flashing will help, it probably will. Updating the BIOS firmware is the best way out of a fix sometimes. Attempts to update BIOS can cause problems you might not be able to handle well.
Now, before you flash it, it might be prudent to try resetting it. Remove the CMOS battery (a silver coin-sized battery on the motherboard) and reseat it. If that doesn’t solve the issue, you will need to update or flash your BIOS.
The idea is simple – you download the new BIOS file and put it in a zip inside a USB drive. Then, you restart your PC with the USB drive plugged in and use the Q-Flash utility to upgrade. There are caveats, however, and different motherboards have differences.
The guide on Tom’s Hardware is a good place to begin.