The pros and cons of building a PC are pretty obvious: building your own PC is cheaper and more rewarding than buying one. But there’s one big con: you have to be an expert in hardware and software to do it right.
How big of an expert? Now, that’s the biggest question.
When I was in school, I often saw others replace parts on PCs, and my dad swap out motherboards and clean the RAM. I naturally learned the process of building a PC without ever having to need any kind of handholding.
But that’s not the case with everyone. A gaming PC is a delicate business. Building your own might sound like a huge task.
You’ll find plenty of tutorials and step-by-step guides to build a PC – from a 100+ minutes LTT video and official guides from Intel and MSI to a professional guide from the likes of TechRadar, PCWorld, Tom’s Hardware, and a WikiHow article. Also, depending on the parts, region, time, and availability – your process will differ from another person’s, often remarkably.
But some rules and regulations are consistent. This checklist aims to give you a handbook to build good gaming PCs efficiently by going over these rules and regulations.
Before that:
- If you have never even installed Windows on a PC or seen a PC case open, don’t build a PC without help.
- If you’re building for the first time, don’t bother with water/liquid cooling.
- Do some research on inlet and outlet fans. Good airflow inside a case is more important than more fans. Read how many fans does a gaming PC need.
- Avoid secondhand parts that have no warranty for your first build. This includes peripherals.
- Avoid expensive motherboards that have SSD heatsinks, WiFi, inbuilt Bluetooth, etc. if you’re on a budget. These are great features to have, but a conventional PC setup doesn’t need them because they cost hundreds of dollars more. The same goes for RGB variants of RAM, GPU, CPU coolers, cases, etc. RGB fans are fair game.
General process
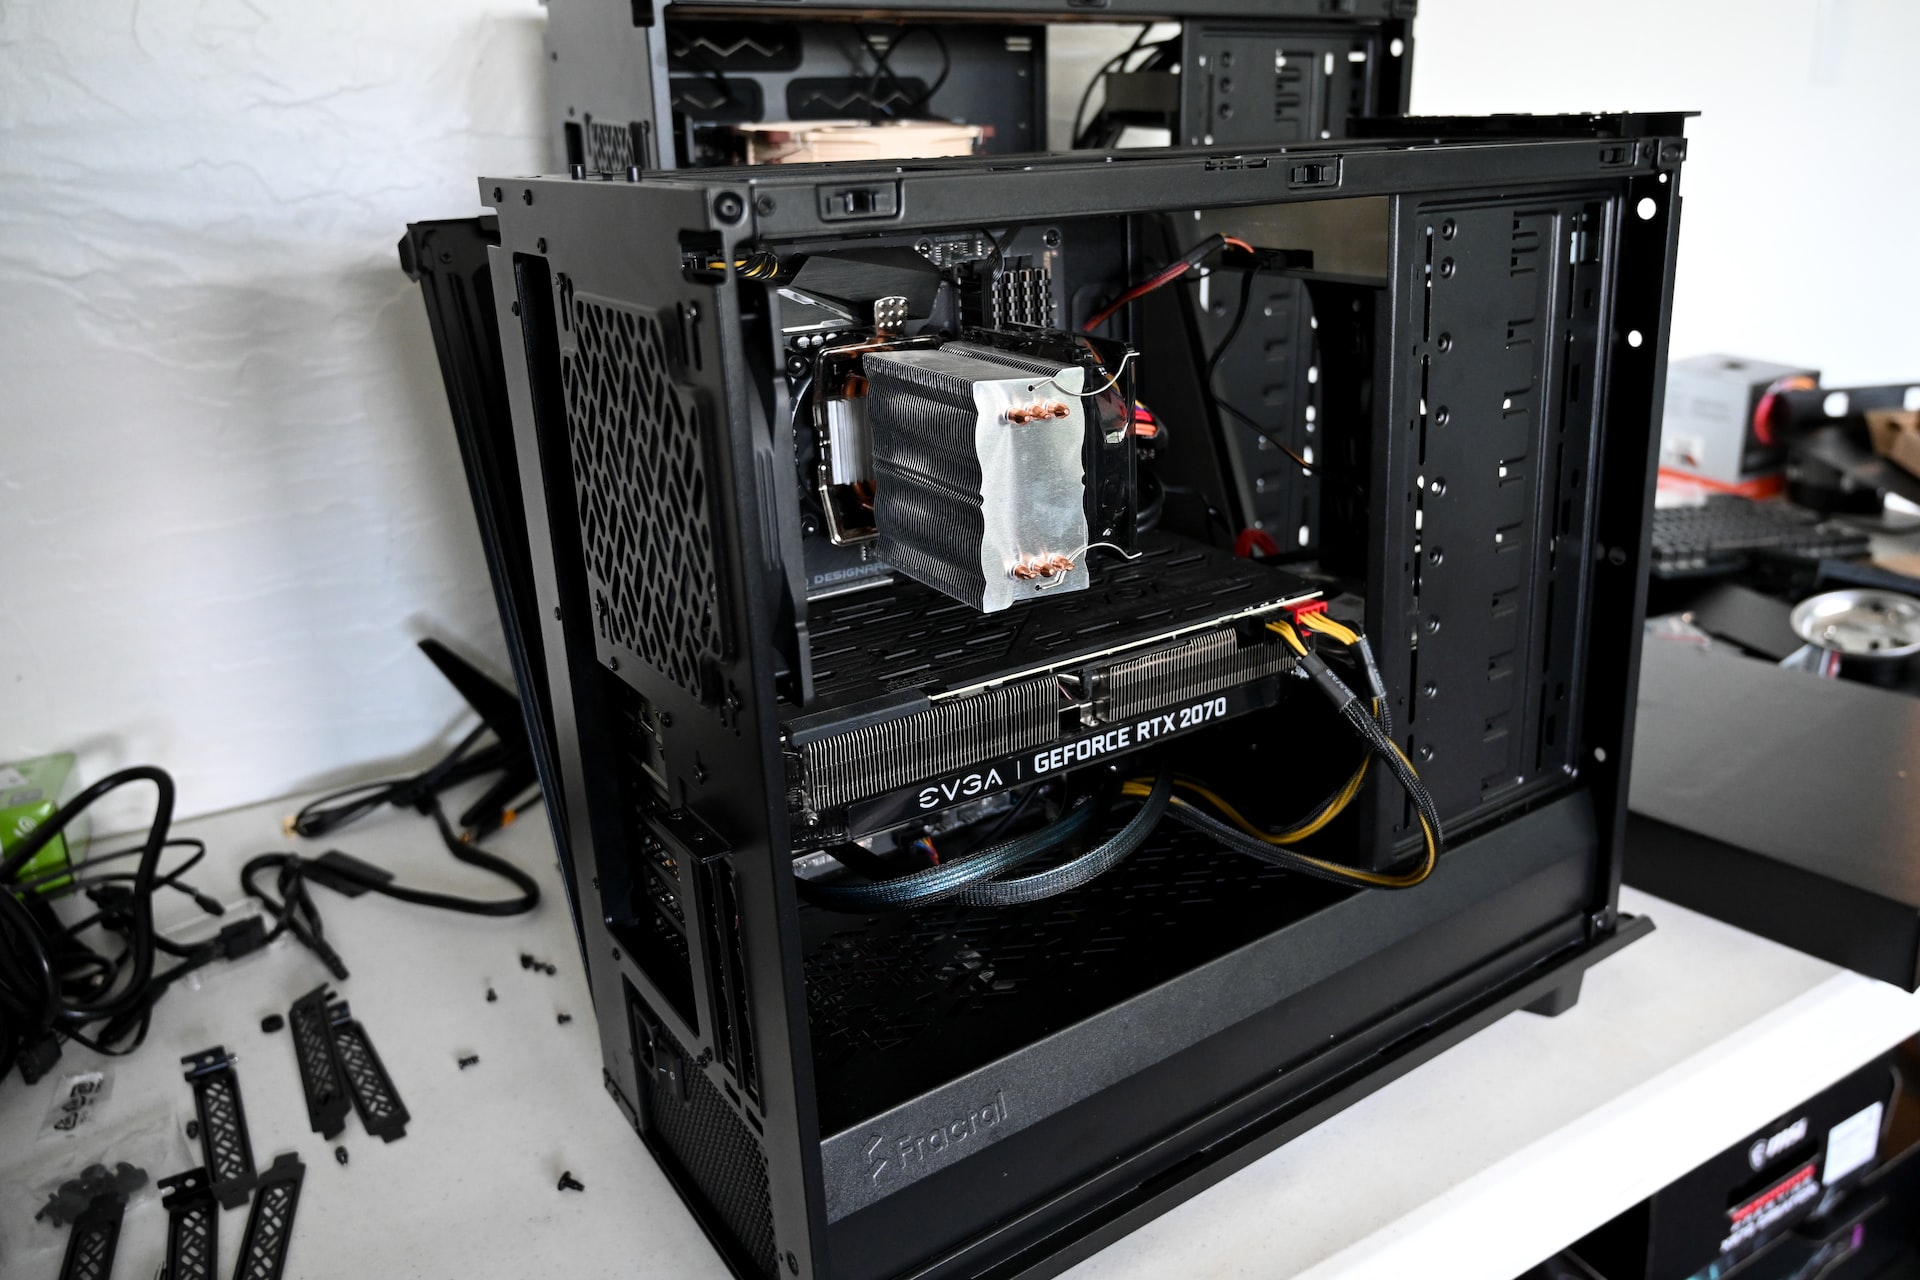
Here’s the general workflow of building a gaming PC:
- Determine your needs: What types of games do you play? Casual? 3-6 years old? The latest AAA titles?
- Determine your budget: Set a specific budget that you will not cross. For each category in the previous point, the budget is going to be different.
- Pick parts: Once you know what you want under what budget, pick all the parts. The most expensive components should be selected first, like the GPU and the processor. Use PCPartPicker to build a rough list. For instance, I use a Ryzen 9 5900X, so I will search for the best motherboards for Ryzen 9 5900X to get the motherboard for my particular CPU. Here are the most important parts to decide before anything else:
- CPU/processor
- GPU
- Motherboard
- RAM
- SSD
- Coolers
- PSU
- Case and fans
- Decide the form: This means the size of the chassis, type of the motherboard, etc. It depends mainly on how much space you have. For most purposes, you’re going to be okay with mid-range items.
- Get some basic tools and supplies such as zip ties, a screwdriver, mats, etc. Ensure static safety while building.
- Install the CPU on the motherboard.
- Install the memory sticks on the motherboard.
- Install the storage drives on the motherboard.
- Set up the air coolers and fans. Connect the right fan and RGB headers at this stage. Do some cleanup and cable management.
- Do a quick test run to see if the PC boots.
- If all goes well, install the GPU.
For video card prices, it’s around $100-250 for smaller games, $250-600 for most mid-range games from Witcher 3 to GTA V, and $600-1200+ for modern AAA games. Between AMD and Nvidia (and Intel has also launched its Arc series GPUs), you have 8 modern gaming GPU product ranges. Find out about them and their prices in our guide on how much to invest in a GPU.
If you’re conflicted between two processors or video cards, please don’t compare on UserBenchmark. This is an Intel- and Nvidia-favoring tool, uses insane metrics to judge some hardware, and in most of the cases, provides grossly inaccurate information that should not be trusted.
Related reading:
- Did you know HDDs are still the king and 4K is still just a small niche? Here’s what the most “average” gaming PC looks like in 2022, and what parts and peripherals it has.
- Did you know not all cooling products are equal, and some companies build better fans whereas others build better CPU coolers? A list of the best brands for PC gaming parts and their respective buying guides.
- Overclocking can be fun, but did you know BIOS-related problems are the #1 reason why first-time PC builders lose sleep? The gamer’s guide to BIOS settings.
- Most gamers tend to put a lot of thought into the parts and looks – but not in cooling, which is incidentally the #1 cause for thermal throttling and naturally, lower in-game FPS. Read about managing GPU temperature inside a PC case without buying tanks of liquid nitrogen.
- Are you after 4K gaming and don’t wish to go for the AMD 7000 or Nvidia 40 series? Here’s a comprehensive comparison between the AMD RX 6000 series vs. the Nvidia RTX 30 series for you.
Compatibility
Ensuring compatibility is difficult because it’s not always black and white. Technology is always improving, from AM4 socket to AM5, from DDR4 RAM to DDR5, and from PCIe Gen 4.0 to Gen 5.0 power delivery – we always have something new that brings about some compatibility issues.
Board-socket compatibility
The first thing to take care of is board-socket compatibility. Motherboards are built either for an Intel CPU or an AMD CPU. Gaming motherboards are not built for both. Also, older processors have different sockets which new motherboards don’t support. Similarly, cutting-edge sockets like the new AM5 cannot fit older, AM4-based AMD processors.
Once you have chosen a CPU (which is the more important of the two – boards and processors), just Google for compatible motherboards or use PCPartPicker to narrow the options down.
That brings us to the next point.
Supported memory
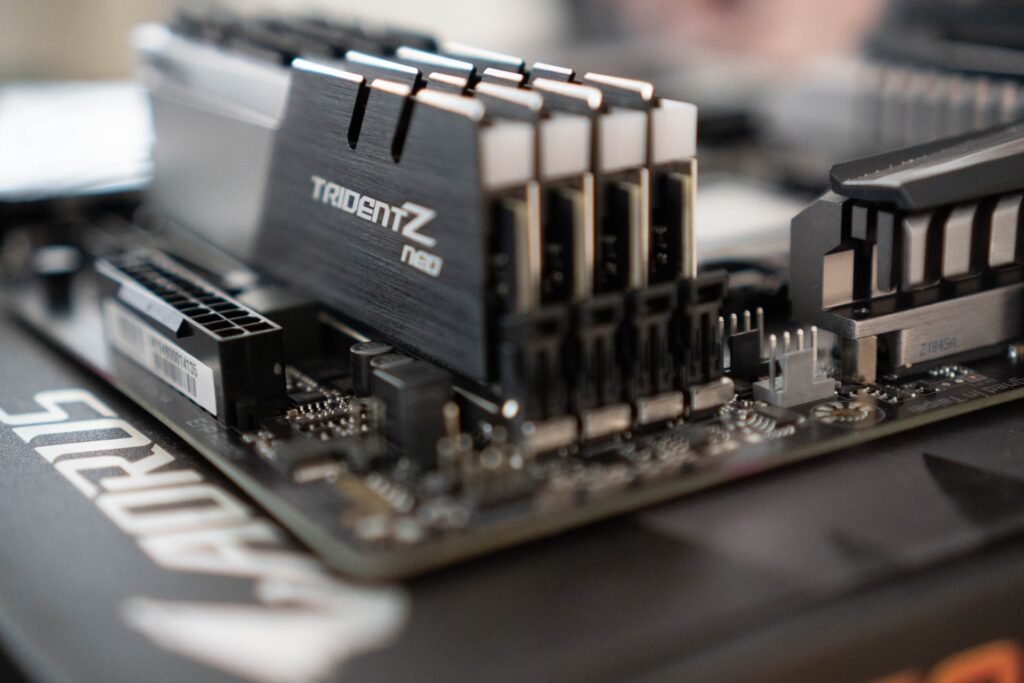
RAM is generally backward-compatible. But you want to pick a motherboard that can reach your RAM’s highest speed. This can be ensured by noting down the RAM’s rated speed (in MHz) and comparing it against the specs of the motherboard.
The vast majority of gaming motherboards clearly list what RAM speeds they support so this should be easy. Never get stuck with a board that can’t handle your RAM’s speed!
The RAM type should also be compatible with the processor. Some processors only work with DDR4 RAM – which is the largest chunk of RAM in circulation anyway. Not something to be too careful about.
RAM checklist:
- Don’t mix brands, speeds, and even different product ranges within the same brand and speed when it comes to RAM. Buy the exact same RAM.
- 2 sticks or 4 sticks are better than 1 (or for whatever reason, 3). Meaning 2x8GB is better than 1x16GB even if both will give you 16GB. This allows RAM to run in a dual-channel mode which makes gaming slightly faster.
- Always put your RAMs in a 1-3 or 2-4 slot number configuration and not consecutively like 1-2, 2-3, or 3-4. I personally prefer 2-4 because historically, it’s better to “close” a circuit.
Display and video card
Video cards are responsible for the video output, not just gaming. If you plug your monitor’s cable directly into the motherboard’s slot, the processor will be running the display instead. We clearly don’t want that because we’re building a gaming PC.
The monitor’s cable will always connect to your video card’s port showing through the case’s back I/O panel. It will not connect to the motherboard’s slot.
Though most GPUs have an HDMI output and most monitors have an HDMI input, you still need to look out for these things. If your GPU or monitor is too old, it might not have HDMI. For example, an old monitor with just VGA and DVI will not be able to connect to a GPU that only has HDMI.
On the other hand, some high-end monitors offer DisplayPort or DP. You want a video card that can utilize that better port – so make sure you get one accordingly.
Learn more about DisplayPort vs. HDMI.
Power
Gaming hardware is consistently getting more and more power-hungry. 600W+ video cards anyone? Anyway, it’s important to calculate the total maximum wattage of your system, add some 50-100W on top of that, and then find a PSU that’s Bronze level or higher.
A mid-end gaming PC will consume anywhere from 300-450W. A 550W PSU is good. A high-end PC can consume anywhere from 500-800W, and professional gamers often pick 1000W PSUs.
Use Newegg’s power supply calculator once your parts list is ready.
Compatibilities to not worry about
As a first-time PC builder, you might have strange questions that I cannot foresee. But I’ll try my best in the list below.
- All video cards (GPUs) are compatible with all processors, motherboards, and RAMs. A video card will have an x16 connector, and every motherboard has an x16 slot.
- Storage is always compatible with the motherboard. You can stack multiple HDDs or SSDs without worrying about anything.
- Peripherals don’t need specific connections. Most gaming mice, headsets, keyboards, speakers, etc. will connect effortlessly to any PC and start working in seconds.
Just make sure you’re not going with something too niche (like a non-gaming GPU or an extremely old motherboard). So, all that I said above isn’t technically 100% true.
For example, mining-specific motherboards have a bunch of x1 slots that connect to GPUs using daughterboards. Certain mining motherboards have no x16 slot at all to “naturally” plug a video card – as they are supposed to be hung on open rigs and not sit inside a case. This is ideal to maximize cooling but not so great for gaming because it limits the gaming performance of each GPU.
Sufficiency
After compatibility, we arrive at sufficiency. Is X sufficient to do Y? For example, if you wish to play the latest AAA games at 1080p60 on a 24” monitor, you will need a fairly recent GPU. If you wish to use all the new technologies such as ray-tracing with ultra-settings on a 4K display, you’ll need a beefy video card.
Size issues
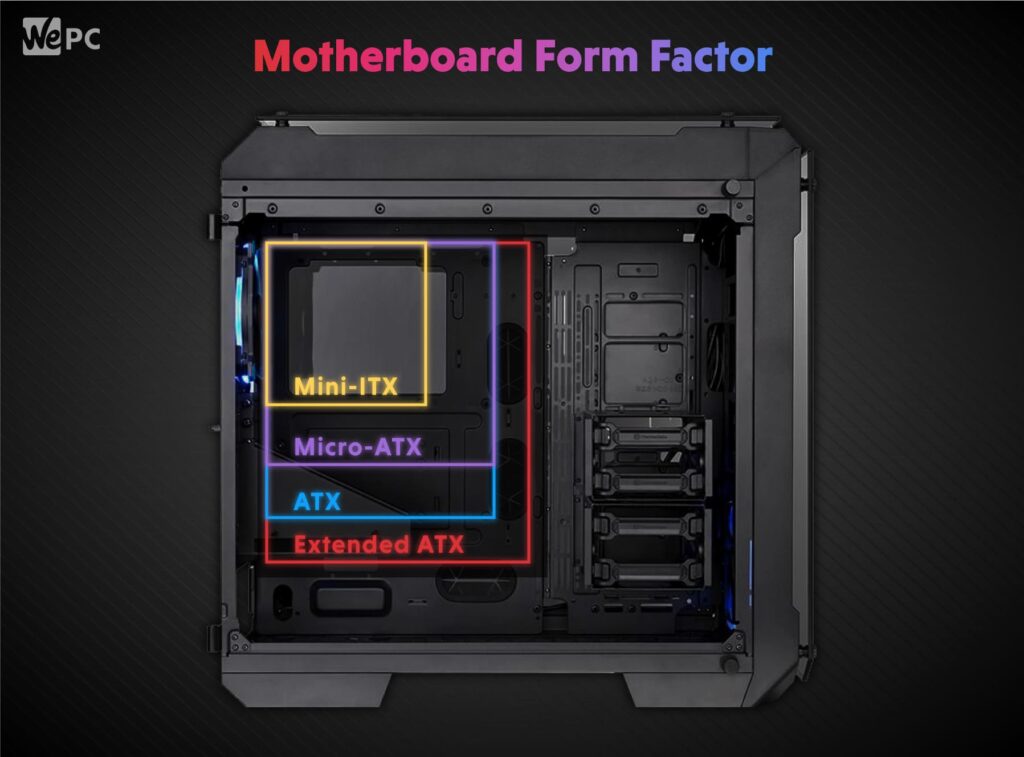
Motherboards (and incidentally PC cases/towers) come in different form factors. Read our motherboard size guide for more. Generally, you have the Mini-ITX, Micro-ATX, ATX, and EATX (from smallest to largest).
Most gamers need a Micro-ATX (mATX) or an ATX motherboard.
- Ensure that your motherboard is strong enough for your GPU. Not all mATX GPUs can, for example, hold large, triple-slot video cards. It also creates other space problems.
- Make sure you choose a case rated to hold that type of motherboard. You don’t want an ATX motherboard inside an mATX chassis.
Tip: The silver “pins” on the backside of the motherboard are solders. They are safe even if they are pushed up tightly against the back of your case or touching cables, though that should ideally not happen in a good build because cables need space.
Number of slots
Always ensure you have enough slots for all your peripherals, devices, hardware, and then some. This includes the number of SSD slots in a motherboard and the number of PCIe slots on the back of your PSU. Every part is connected to another part, and the most important parts connect to the motherboard and the PSU (like the processor, GPU, and HDDs. All these connections need cables.
Patience, perseverance, and improvisation
Always remember these three virtues that anyone building a PC needs to have. The chance of something going wrong when building a PC is more than 100%. Unless you’re an expert (in which case, why are you reading this beats me), you will very certainly have a problem.
Surprisingly, the majority of these problems are way smaller than you imagine. A loose screw. A cable or connector that you missed. Incompatible drivers. Power issues.
Most of the issues that keep you from POSTing (booting) in the first attempt are extremely small – but extremely hard to spot.
It helps to check the whole thing. You don’t even have to resort to steps like CMOS reset or BIOS flashing in most cases. It will just … work.
Have patience. Persevere through roadblocks without getting frustrated. And most importantly, improvise every time you go through the build. Sometimes, it’s really just an improperly seated GPU or the wrong configuration in your BIOS that’s keeping your PC from booting.
Why build a gaming PC (vs. buying a prebuilt one)
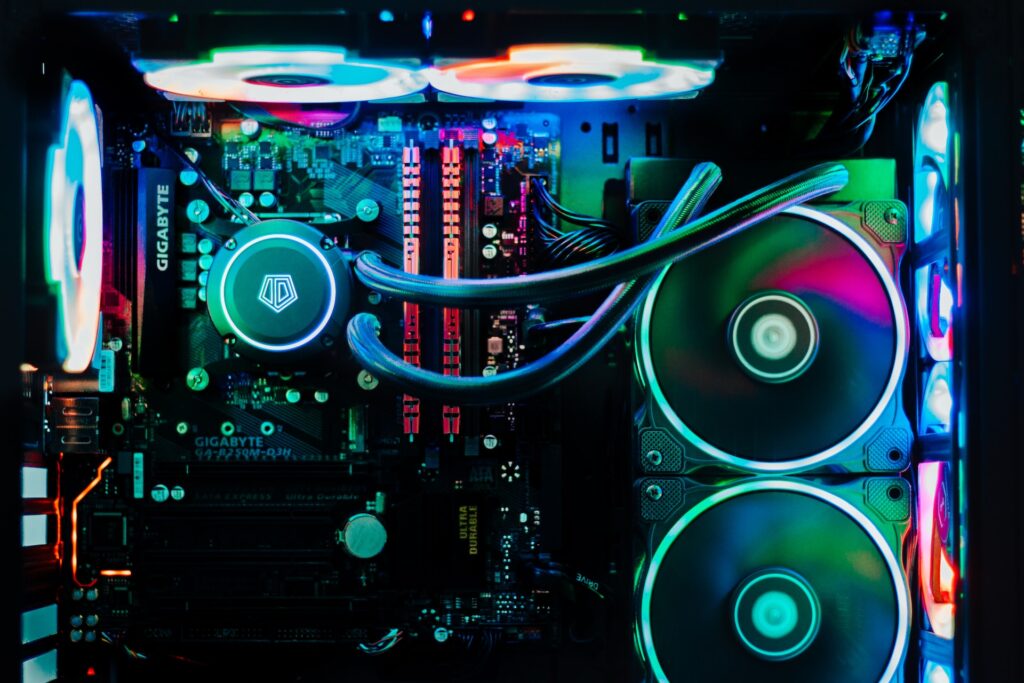
If you’re looking for a gaming system, then yes, building your own is the way to go. There are a few reasons why:
You get more control over the price and performance of your system. You can choose components that meet your needs and see how they work together. You can also choose from a wider range of options (CPUs, motherboards, graphic cards) than you would if buying prebuilt.
You can customize the computer to suit your needs. If you want a system that has more memory or a faster processor, you can do it yourself. You also get to choose whichever components are most important to you, whether that’s the processor or graphics card.
The main reason people build their own PCs is that they want something special. They’re looking for a performance that’s not available in prebuilt models. They know they’ll get better performance, reliability, and upgradability from a custom-built system for a smaller price.
To sum it up:
- You’ll have full control over all aspects of the PC experience. You can customize everything from RAM and storage space to the operating system and graphics cards.
- You’ll save money by doing it yourself instead of buying a pre-built PC.
- You’ll have the opportunity to learn new skills if you want them.
If you’re looking to build a system that’s powerful enough to run the latest games and applications, then there are a few better ways than building your own PC. But if you’re just interested in gaming and not anything technical, prebuilt gaming PCs offer a good value for the extra premium – no hassle, tech support, and pre-assembled/tested PCs mean no compatibility issues or malfunctioning.
Also read: Prebuilt vs. custom-built gaming PCs


